
Best car undercoating spray shopping usually starts after you spot surface rust, hear more road noise than you remember, or realize winter salt is basically a yearly “stress test” for your vehicle’s underside.
The tricky part is that “undercoating” is not one product category, it’s a few different chemistries that behave differently on steel, seams, and already-rusty spots. Buy the wrong type and you might get peeling, trapped moisture, or a coating that looks good for a month and then disappears.
This guide helps you pick a spray that matches your climate and your car’s condition, then apply it in a way that actually sticks. You’ll also see where DIY makes sense, and where a pro shop can save you a lot of frustration.
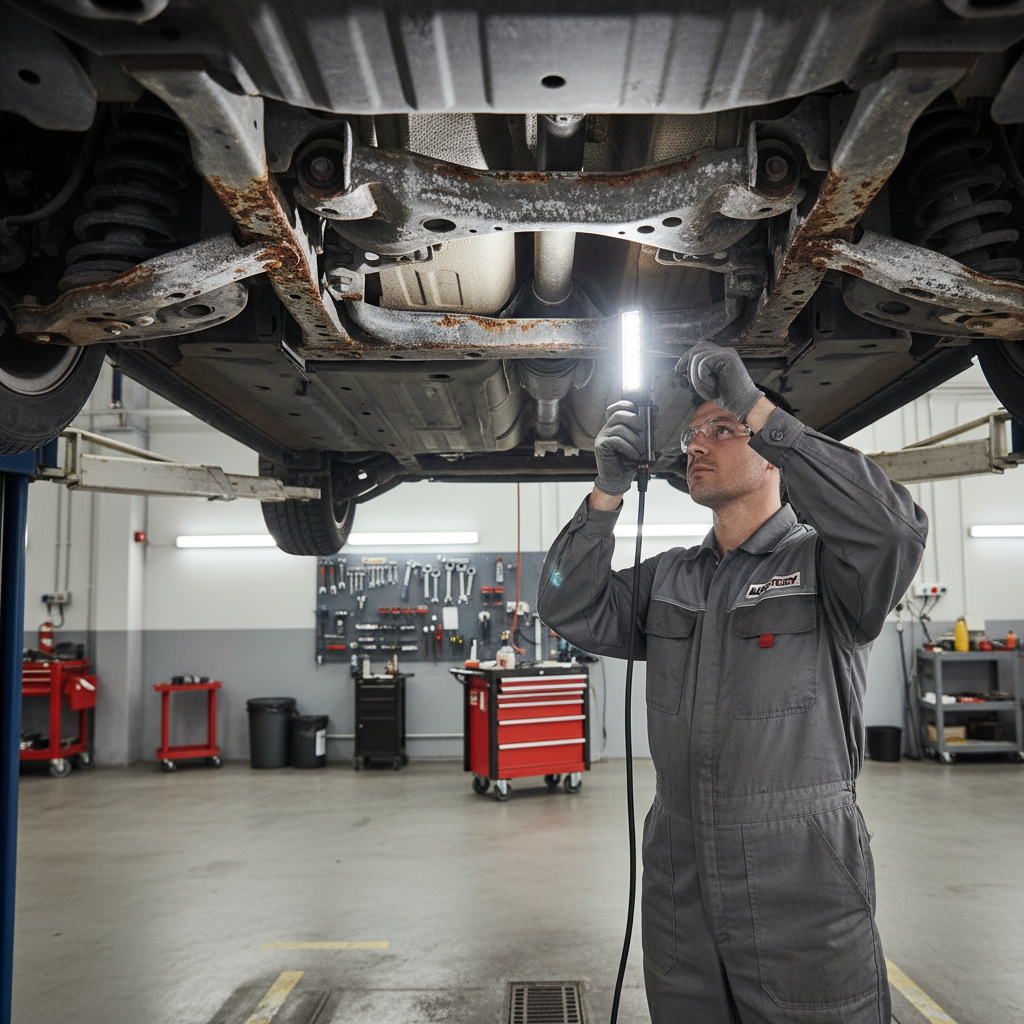
What “undercoating spray” really means (and why type matters)
When people ask for the best car undercoating spray, they often expect one universal winner. In practice, the “best” is the product type that matches your goal: stop corrosion creep, survive gravel impacts, quiet the cabin, or all three with tradeoffs.
- Wax / oil-based coatings: creep into seams and spot-welds, great for salt regions, usually need reapplication. Often called “rust inhibitors” rather than bedliner-style coatings.
- Rubberized undercoating: thicker, helps with noise and chip resistance, but surface prep matters a lot. Not ideal over active rust without proper conversion and sealing.
- Asphalt/bitumen-based: tough and impact-resistant, can be messy and harder to remove, not every shop likes working around it later.
- Epoxy/urethane coatings: more “paint system” than casual spray, excellent when done right, but typically more prep and skill.
According to NOAA, road salt use rises with winter storm conditions in many U.S. regions, which is why seam-creeping protection matters as much as “thick coating” in real-world rust belts.
Quick comparison table: choose by climate, rust level, and maintenance
If you want a fast shortcut, start here. Then refine based on your vehicle’s underside condition and how much yearly maintenance you can tolerate.
| Undercoating type | Best for | Weak spot | Maintenance |
|---|---|---|---|
| Wax/oil-based (creeping) | Salt states, seam protection, hidden cavities | Can wash off over time, attracts dust | Often yearly touch-ups |
| Rubberized | Noise reduction, light gravel protection | Can trap moisture if applied over rust/contamination | Spot-repair as needed |
| Asphalt/bitumen | Heavy chip resistance, older trucks | Messy, harder future repairs, smell during cure | Periodic checks |
| Epoxy/urethane system | Restoration-quality, long-term barrier | Prep intensive, cost/time higher | Low if done correctly |
How to tell what your car actually needs (a realistic checklist)
A lot of people overbuy the “toughest” coating when the real need is seam creep, or they spray thick rubber over flaky rust and hope it behaves. Use this quick self-check before you pick a product.
1) Your environment
- Rust-belt winters (salt brine, slush): prioritize creep into seams and fasteners, then add impact protection where needed.
- Coastal air (salt mist): consistent barrier matters, but drainage and washing habits matter too.
- Dry states: you might be protecting against gravel and noise more than corrosion.
2) Your underside condition (be honest here)
- Mostly clean metal with light surface oxidation: many coatings work if you degrease and scuff properly.
- Flaky rust or scaling: coating alone won’t “freeze” it reliably; you’ll need mechanical removal and often a rust converter/primer step.
- Wet, oily residue: any product will struggle until the surface is clean and dry.
3) Your tolerance for reapplication
- If you can reapply annually, creeping wax/oil options can be very effective where it counts.
- If you want longer cycles, you’re moving toward thicker barriers, which raises the bar on prep quality.
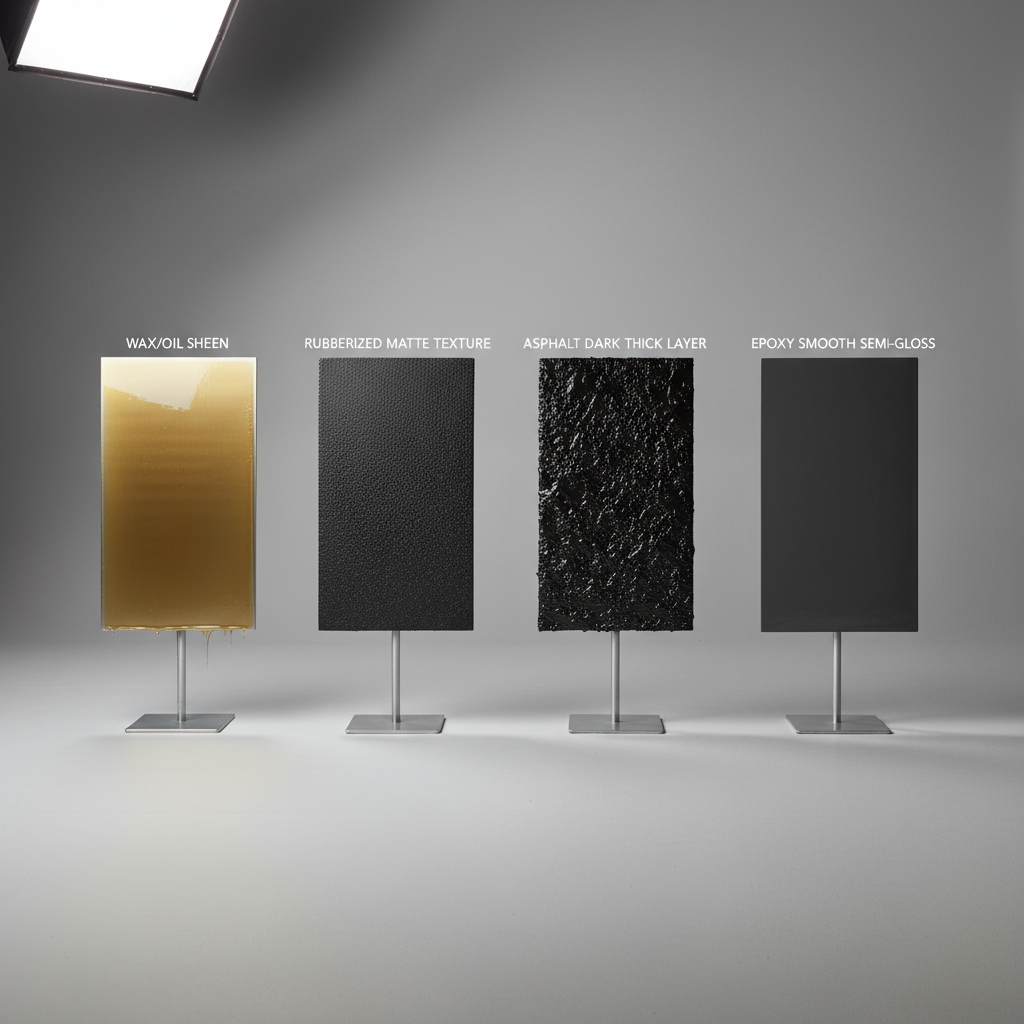
What to look for in the best car undercoating spray (specs that matter)
Marketing tends to focus on “heavy duty” and “rubberized,” but your buying decision gets easier when you look at a few practical specs and behaviors.
- Compatibility with existing coatings: some sprays don’t bond well over old rubberized layers, factory waxes, or oily films.
- Cure behavior: does it skin over quickly, does it stay slightly tacky, does it require a warm garage? This affects dust pickup and how soon you can drive.
- Salt spray and corrosion claims: treat vague claims cautiously; look for clear instructions and surface-prep requirements, because performance depends heavily on prep.
- Seam creep: wax/oil products should “wick” into seams; thick rubber typically won’t.
- Abrasion/impact resistance: if you drive gravel roads, a tougher outer layer matters.
- Overspray control: nozzle quality and fan pattern influence how much ends up on exhaust, brakes, or your driveway.
- Serviceability: you will need to inspect brake lines, fuel lines, and suspension later; coatings that make future work miserable can be a hidden cost.
According to NHTSA, maintaining safe braking and steering components is critical for vehicle safety, so any underbody coating strategy should avoid contaminating rotors, pads, calipers, and rubber brake components.
Best picks by scenario (not one-size-fits-all)
Rather than naming a single “winner,” here are the setups that tend to work best in common U.S. scenarios. This is where most people land when they want the best car undercoating spray without turning the project into a full restoration.
Scenario A: Rust-belt daily driver, minimal rust, you want prevention
- Choose: a creeping wax/oil-based undercoating for seams + a light chip-resistant layer on exposed forward areas if needed.
- Why: salt water gets into spot-welds and overlaps, and creep is what keeps protection moving into those seams.
- Good fit: owners who can reapply seasonally or once a year.
Scenario B: Older truck with surface rust, you want it to look “sealed”
- Choose: rust removal (wire wheel / scaling removal) + rust converter where appropriate + durable barrier coat.
- Why: thick coatings over loose rust can fail in sheets, and then you’re worse off because moisture gets trapped.
- Reality check: expect time in prep, not just spraying.
Scenario C: Gravel roads, hunting/farm use, impact protection first
- Choose: tougher rubberized or asphalt-style coating on high-impact zones, keep drain holes and service points clear.
- Why: chip resistance prevents bare steel from getting peppered.
Scenario D: You hate mess and want clean annual inspections
- Choose: a cleaner-drying wax film or a well-prepped paint-style system, depending on budget and time.
- Why: some products stay oily by design, which can annoy you during maintenance.
DIY application steps that actually hold up
The best product can still fail if it goes on dirty metal or gets sprayed onto hot exhaust. Plan for prep time, ventilation, and overspray control.
Tools and materials
- Jack stands or ramps (stable, rated for your vehicle), wheel chocks
- Degreaser, stiff brushes, microfiber rags
- Compressed air or leaf blower for drying seams, if available
- Masking materials: plastic sheeting, painter’s tape, cardboard shields
- Safety gear: gloves, eye protection, and a respirator rated for organic vapors if the product label calls for it
Step-by-step process
- Clean: remove mud, salt residue, and oily film. If you pressure wash, allow extra dry time.
- Dry completely: seams and pinch welds hold water. This step looks boring but often decides the outcome.
- Remove loose rust: anything flaky must come off. Coating over flakes is basically coating over air.
- Mask critical areas: brakes, exhaust, O2 sensors, belts, and heat shields where overspray can smoke or smell.
- Apply thin coats: multiple light passes bond better than one heavy coat that skins over and traps solvent.
- Keep drain holes clear: rocker drains and frame drains exist for a reason.
- Cure time: follow the can. Temperature and humidity change everything, and rushing this part often leads to early wash-off.
Key takeaway: if the underside cannot get clean and dry, a creeping corrosion inhibitor tends to be more forgiving than thick rubberized coatings.
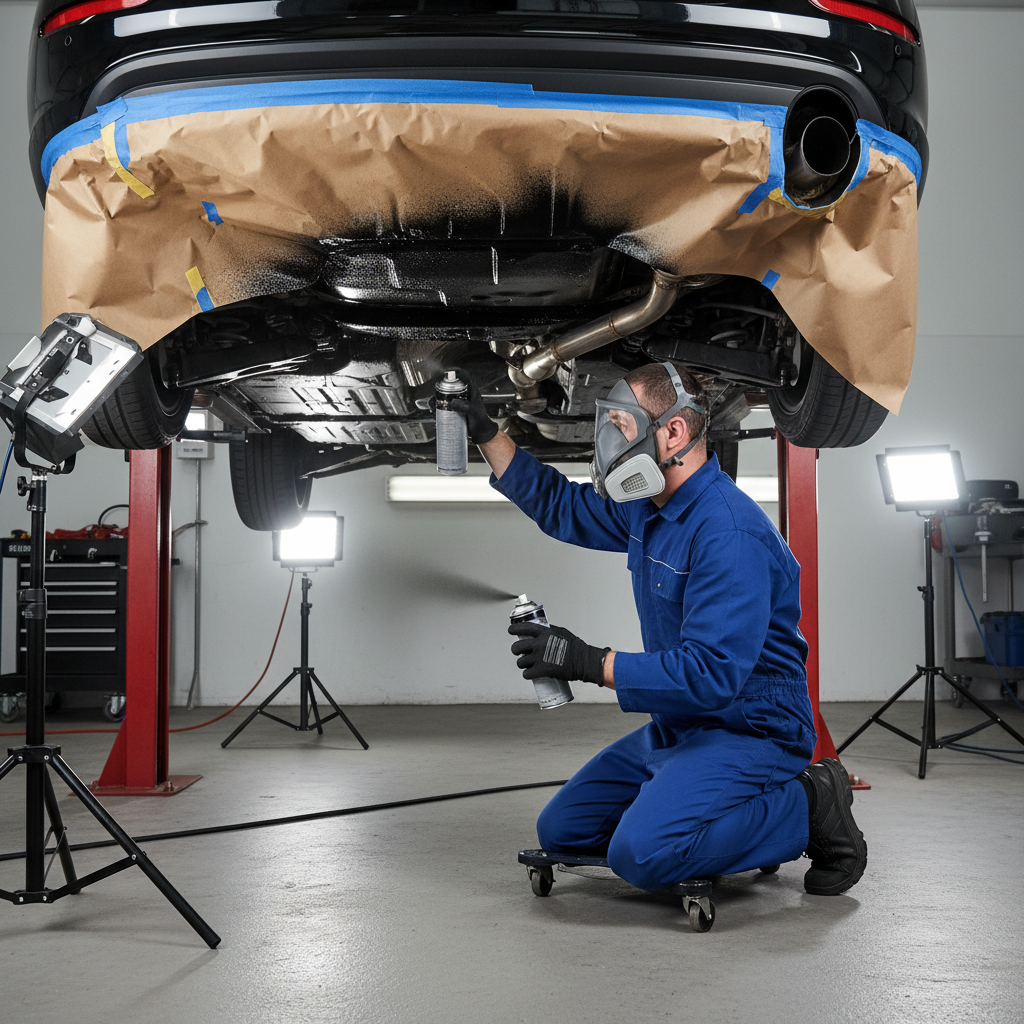
Mistakes that make undercoating fail early (and how to avoid them)
Most “this product is junk” reviews come down to a few repeat issues. Fix these and you’ll get closer to what the label promised.
- Spraying over active rust: if it’s scaling, remove it. If it’s light oxidation, treat it. Don’t bury it.
- Trapping moisture: thick coatings over damp seams can accelerate corrosion underneath, even if the outside looks perfect.
- Coating rubber bushings and brake parts: you risk squeaks, smells, or safety issues. Mask carefully.
- Ignoring inspection access: cover every bolt head and you’ll hate yourself at the next suspension job.
- Doing it in the cold: many products thicken and spray poorly when cold, causing uneven coverage and weak adhesion.
According to EPA, many aerosol and solvent-based products require proper ventilation to reduce inhalation exposure, so use the safety guidance on the label and consider professional help if you can’t ventilate your workspace.
When it’s smarter to pay a shop
DIY can work well, but some situations lean professional because the risk of wasted time or hidden corrosion is higher.
- Structural rust concerns: holes, heavy scaling on frame sections, or rust near suspension mounting points.
- You need cavity treatment: doors, rockers, and inside frame rails often need special wands and access points.
- No safe lifting option: crawling under a poorly supported vehicle is not a “save money” move.
- Recurring brake/fuel line corrosion: a technician can inspect lines and advise on replacement before coating.
If you suspect advanced corrosion, it’s reasonable to ask a qualified mechanic or body shop for an inspection before you commit to any underbody coating plan.
Practical conclusion: how to pick your 2026 undercoating and move on
If you live where salt is common, the best car undercoating spray is often the one that creeps into seams and gets refreshed on a schedule, not the thickest layer you can buy. If you’re fighting gravel impacts or want a cleaner, more “sealed” look, thicker coatings can make sense, but only when prep is solid and rust is addressed.
- Action step 1: inspect and classify your underside: clean, light oxidation, or flaky rust.
- Action step 2: match the product type to your climate and maintenance tolerance, then do a small test area before you commit to the whole vehicle.
If you want, share your state, vehicle age, and whether you see flaky rust or just orange staining, and I can suggest the most realistic product type and application approach for your situation.