
The best car sticker removal tool depends less on “what’s strongest” and more on your paint condition, the sticker type, and how much patience you have for heat and cleanup.
If you’ve ever peeled a decal and ended up with glue haze, scratched clear coat, or a ghost outline that shows up in sunlight, you already know why this topic matters. Most “bad results” come from using the wrong edge, too much force, or skipping the adhesive-removal step.
This guide breaks down the most reliable tools for 2026 shopping, how to choose based on your situation, and a practical method that keeps risk low. I’ll also call out common traps, like using metal blades, and when it’s smarter to let a pro handle it.
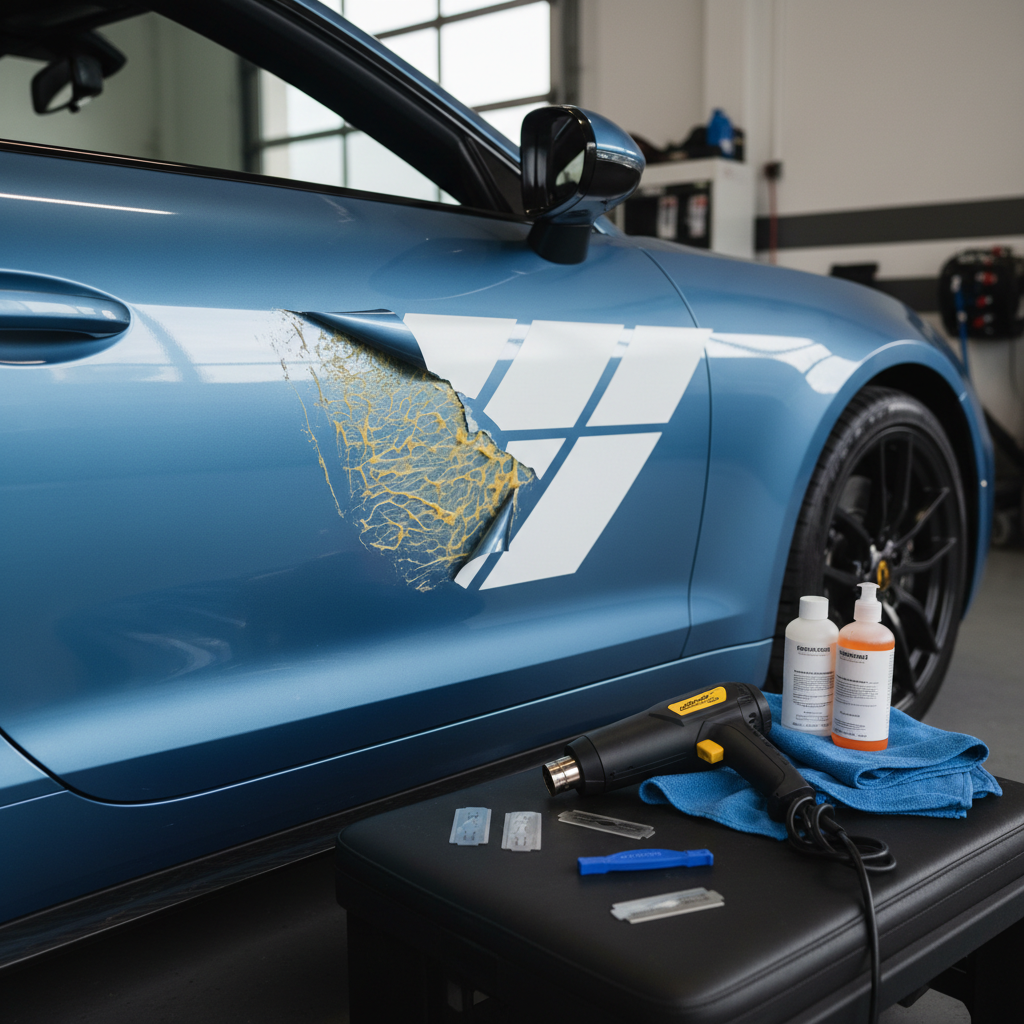
What makes sticker removal go wrong (and what usually fixes it)
Most sticker removal problems boil down to three things: the adhesive is still “alive,” the surface is vulnerable, or the tool edge is too aggressive.
- Cold adhesive fights back: Older decals often have hardened glue, so dry peeling tears vinyl into confetti and leaves thick residue.
- Paint and clear coat vary: Refinished panels, older single-stage paint, or sun-baked clear coat can scratch or haze more easily.
- Wrong edge choice: Metal scrapers and cheap razor holders are fast but risky, especially on curved panels.
- Skipping cleanup: Heat and lift removes the sticker, but you still need a remover that won’t attack paint, followed by a wash and protection.
According to 3M... using the right adhesive remover and following label directions helps reduce surface damage, especially when you avoid overly aggressive scraping. That’s the boring advice, but it’s usually the difference between “done” and “now I have a bigger problem.”
Quick picker: best tools by scenario (2026 short list)
If you want the quickest path to a good result, match the tool to the job instead of buying a random kit. Here’s a practical comparison.
| Scenario | Tool(s) that fit best | Why it works | Watch-outs |
|---|---|---|---|
| Fresh vinyl decal (1–12 months) | Plastic razor + heat (hair dryer) | Vinyl lifts clean with mild heat | Don’t overheat edges on plastic trim |
| Old sticker, brittle and cracking | Heat gun (low) + plastic razor + adhesive remover | Softens glue so you lift instead of shred | Heat control matters on clear coat |
| Dealer badge glue or tape residue | Nylon fishing line + adhesive remover | “Sawing” separates foam tape safely | Keep line clean to avoid grit scratching |
| Large graphics on panel (wrap-like) | Heat gun + plastic blades + patience | Large sheets need steady softening | Ghosting may remain, may need polishing |
| Sticker on glass | Glass scraper + razor blade (glass only) | Glass tolerates sharp blades well | Never use metal blade on paint |
Key takeaway: for paint, the “default safe combo” is heat + plastic edge + a paint-safe adhesive remover + microfiber.
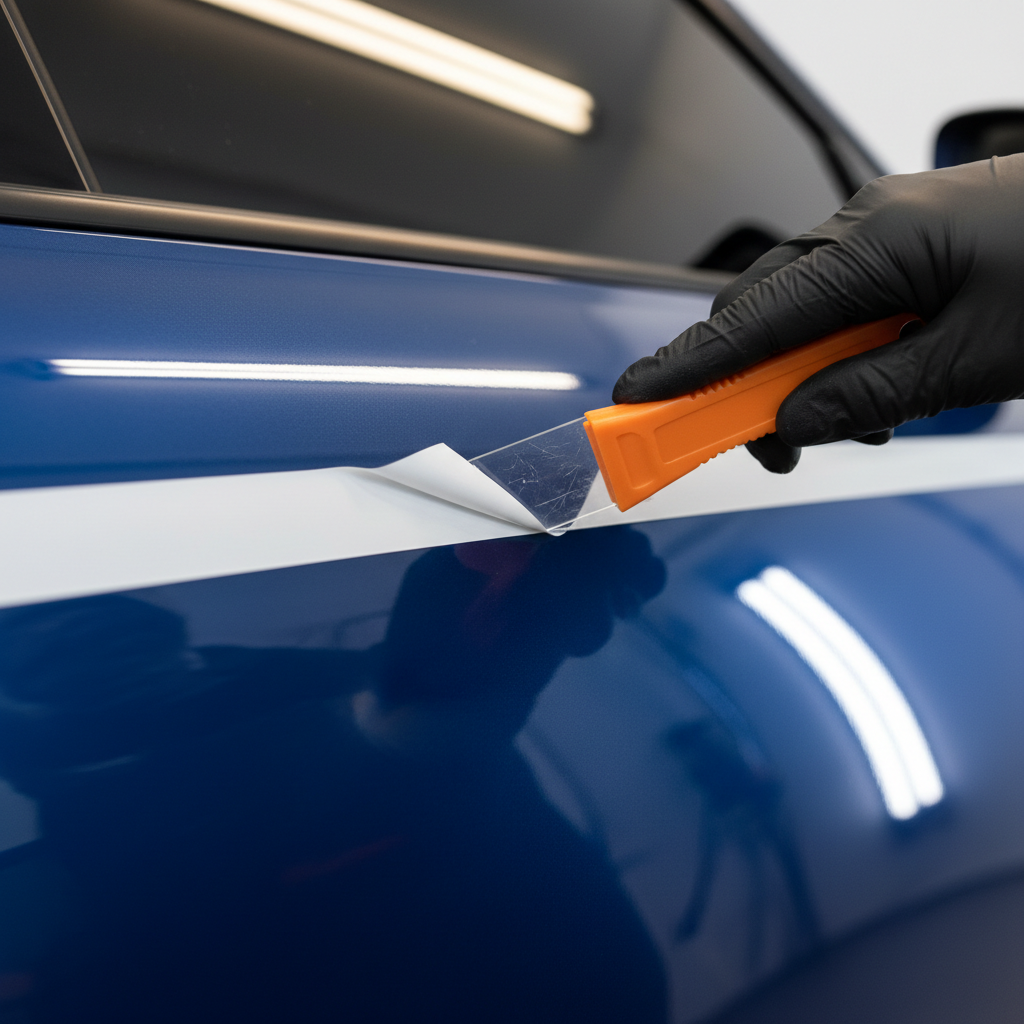
The core tool kit: what to buy (and what to skip)
When people search for the best car sticker removal tool, they’re often hoping for one magic gadget. Realistically, you want a small kit that covers lifting, softening, dissolving, and cleaning.
Tools that earn their spot
- Plastic razor blades + holder: The closest thing to “safe scraping” on paint when used gently.
- Heat source: A hair dryer works for many decals; a heat gun (with low setting and distance control) helps on older adhesives.
- Adhesive remover (automotive-safe): Choose products that state paint-safe use, then test a small area first.
- Microfiber towels: One for remover, one for final wipe, one clean/dry for inspection.
- Nylon line (for badges/tape): Fishing line or dedicated “emblem removal” line saves you from prying.
Tools to avoid in most paint situations
- Metal razor blades on painted panels: Fast, but the scratch risk is real.
- Abrasive pads as a first move: They can haze clear coat and create a bigger correction job.
- Overpowered wheels without experience: “Eraser wheels” can work, but misuse may burn paint edges or create uneven gloss.
Self-check: which removal path fits your car?
Before you touch the sticker, do a quick reality check. It takes one minute and saves you the “why is my paint different here” moment later.
- Is the panel repainted? If yes or you’re not sure, treat it as more delicate.
- Sticker age: Newer vinyl usually lifts cleaner; older decals often need heat + remover.
- Surface type: Clear-coated paint, matte paint, PPF, plastic trim, and glass all behave differently.
- Temperature: Working in cold weather makes adhesive harder; a warmer garage often helps.
- What you can tolerate: If you can’t risk any paint change on a lease return, lean conservative.
According to International Detailing Association (IDA)... proper surface evaluation and using appropriate chemicals for the substrate are basic best practices in detailing, and it’s worth taking that seriously when you’re working on finishes you want to preserve.
Step-by-step: a safe method that works on most painted panels
This is the process detailers tend to follow in some form because it keeps control in your hands. You can scale it up or down based on sticker size.
- 1) Wash the area: Dirt turns into sandpaper once you start rubbing.
- 2) Warm the sticker: Use a hair dryer or low heat gun setting, keep moving, avoid concentrating heat on one spot.
- 3) Lift an edge: Use a plastic razor blade at a shallow angle, think “lift” not “dig.”
- 4) Peel slowly while warming: Pull back on itself (low angle) instead of straight out.
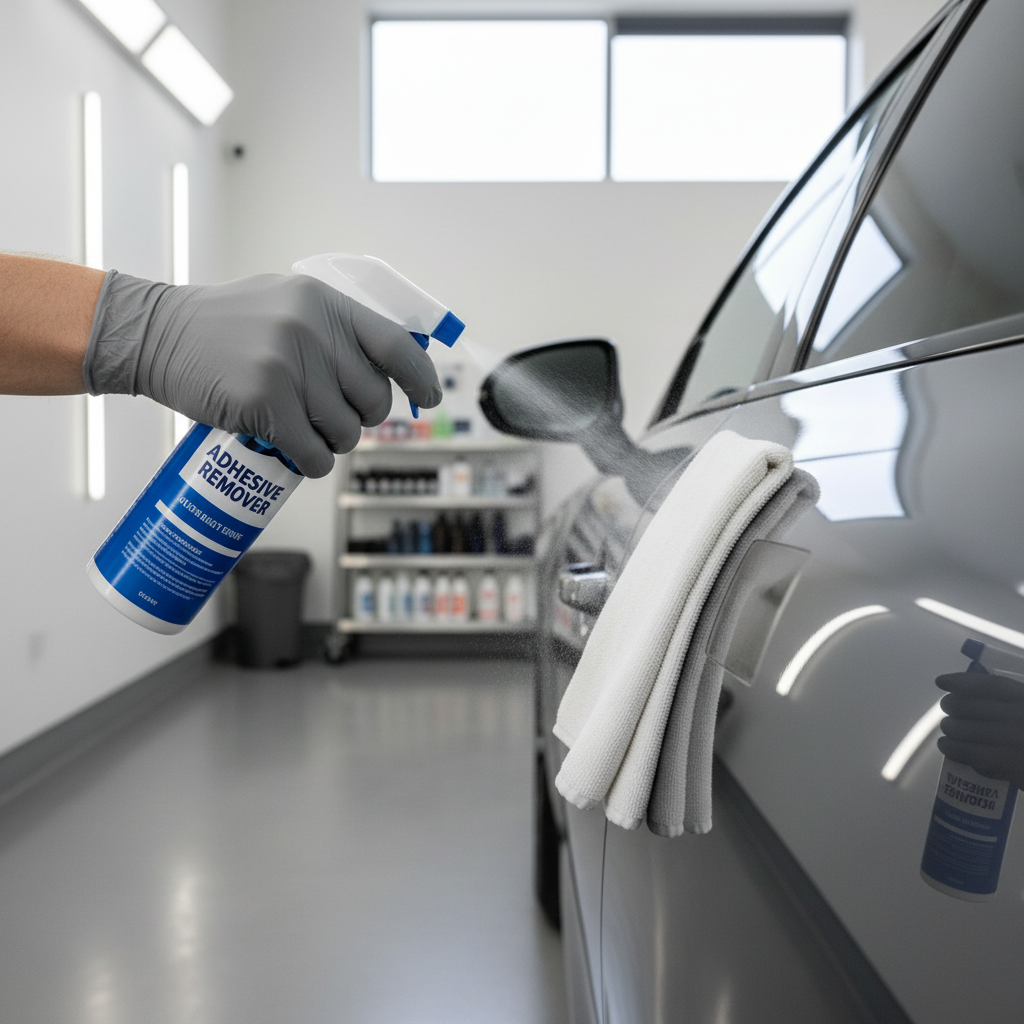
- 5) Remove adhesive: Apply paint-safe remover to a microfiber, dwell briefly per label, wipe gently, repeat as needed.
- 6) Final clean: Rewash or wipe with a safe panel cleaner, then dry and inspect in angled light.
- 7) Protect the area: Wax or sealant helps even out gloss and reduces future sticking.
Practical tip: If the sticker starts tearing into tiny pieces, stop forcing it, add more heat, and switch to shorter “lift and peel” cycles. More pressure rarely helps, it mostly adds scratches.
Common mistakes that waste time (or damage paint)
Some errors show up over and over, even with “good” tools. Avoid these and your odds improve fast.
- Using too much heat: Overheating can soften clear coat and make it easier to mar, especially on edges and body lines.
- Spraying chemicals everywhere: It’s cleaner to apply remover to a towel first, then target the residue.
- Rubbing hard with one towel: Once microfiber loads up with glue, it smears. Switch to a clean side often.
- Expecting perfect color match instantly: A “ghost” outline can be leftover adhesive, or it can be UV fade around the sticker.
- Using glass techniques on paint: Razor blades on glass are normal, on clear coat they’re a gamble.
When you may need a pro (or at least a different plan)
There are situations where the best car sticker removal tool is honestly “a detailer who does this daily,” especially if the downside is expensive.
- Matte/satin paint or matte wrap: Many removers and rubbing techniques can change sheen; ask a professional.
- Paint looks thin or failing: Peeling clear coat, heavy oxidation, or prior repairs raise risk.
- Large graphics on older vehicles: You may remove the decal cleanly and still see a permanent outline from sun fade, polishing might help but not always.
- You need correction after removal: If you see haze or micro-scratching, a pro polish can restore clarity more predictably.
If you’re unsure, test a small hidden spot and consider calling a reputable detailing shop. The goal is not heroic effort, it’s controlled work with minimal surprises.
Conclusion: what to choose and what to do next
If you want a sensible buy for most cars, start with plastic razor blades plus a controlled heat source and an automotive adhesive remover; that combo covers the majority of sticker situations without turning removal into paint repair.
Your next step is simple: check the surface type, warm gently, lift with a plastic edge, then dissolve residue with a paint-safe product and finish with protection. If the panel is delicate or the decal is huge and ancient, slowing down or hiring help often costs less than fixing mistakes.
Quick key points
- Heat + plastic edge beats force almost every time.
- Adhesive removal is a separate step, don’t rush it.
- Metal blades belong on glass, not paint.
- Ghosting can be UV fade, not just leftover glue.
FAQ
- What is the best car sticker removal tool for painted surfaces?
For most painted panels, a plastic razor blade paired with gentle heat and a paint-safe adhesive remover tends to be the safest, most repeatable setup. - Can I use Goo Gone on car paint?
Some adhesive removers marketed for general use can work, but results vary by formula and paint condition. It’s safer to choose an automotive-labeled product and test a small area first. - Is a heat gun safe for removing decals?
It can be, if you use low heat, keep distance, and keep the air moving. Too much heat in one spot may increase the risk of marring or softening clear coat. - How do I remove sticker residue without scratching?
Soften residue with a compatible remover, wipe with microfiber, and avoid gritty towels. If you feel drag, add more remover and switch to a clean towel side. - Why is there a shadow after I remove a sticker?
It might be leftover adhesive, but it can also be paint that faded around the sticker from sun exposure. Light polishing may reduce it, but full removal is not guaranteed. - Can I use a razor blade on my car?
On glass, yes, it’s common. On paint, metal blades are risky; plastic blades are the safer alternative in many cases. - What’s the safest way to remove dealer badges?
Nylon fishing line to separate the foam tape, followed by adhesive remover for cleanup, usually minimizes prying and reduces scratch risk.
If you’re trying to pick one setup and avoid buying five different gadgets, aim for a small kit built around plastic blades, controlled heat, and a paint-safe remover, then adjust based on whether you’re working on glass, trim, or a sensitive finish.