
The best car headlight sealant kit for your job depends less on the brand name and more on what you’re sealing: a butyl “rope” seam on a serviceable housing, or a permaseal-style assembly that fights you the whole way. If you’ve dealt with fogging, water droplets, or a headlight that never quite dries out, the sealant choice usually decides whether the fix lasts a weekend or a couple of seasons.
People often treat headlight sealant like caulk, slap it on, and hope. But headlights live through heat cycles, vibration, road spray, and chemical exposure. A kit that works for a slow weekend reseal might fail on a daily driver in Phoenix, or on a truck that sees pressure washes.

This guide focuses on what to buy and how to use it without wasting time. You’ll get a quick comparison table, a self-check list to identify what type of seal you actually have, and practical steps that match real-world DIY conditions.
Quick picks for 2026 (what most drivers actually need)
If you want a short list: most reseals on typical U.S. vehicles go best with butyl rubber headlight sealant because it stays flexible and can be reopened later. Silicone has its place, but it’s easier to misuse and can make future service a headache.
- Most common reseal: Butyl headlight sealant (rope or tape form)
- Small exterior gap or trim edge: Automotive-grade RTV silicone used sparingly (not for the main channel on serviceable units)
- Lens retrofit/custom work: Butyl + primer/cleaner + proper clamps
According to SAE International (lighting and sealing standards discussions in the industry), durable sealing is typically about material compatibility, surface prep, and maintaining a continuous bead, not just picking the “strongest” adhesive.
Comparison table: what to look for in a headlight sealant kit
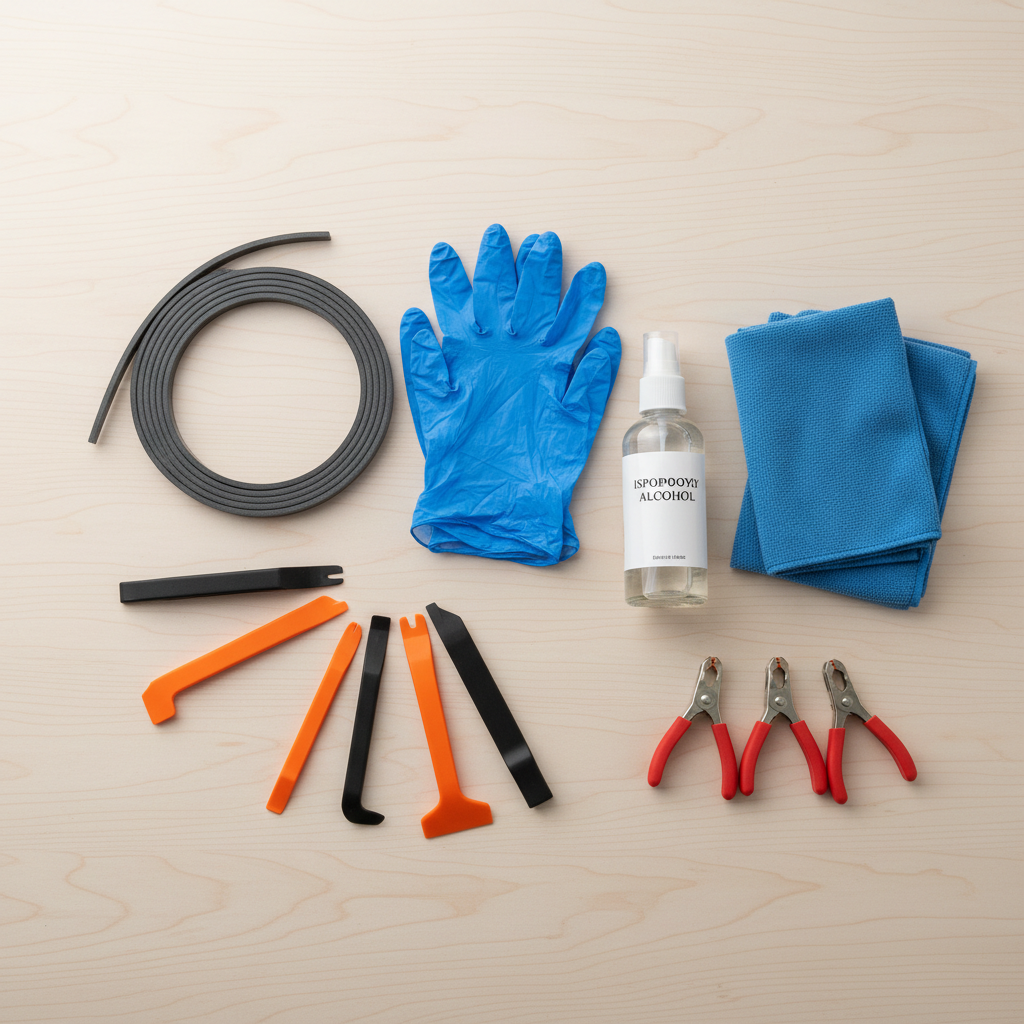
Shopping pages make everything sound identical. In practice, a “kit” is good when it includes the right sealant type, enough material, and the basic prep items that prevent repeat leaks.
| Kit type | Best for | Pros | Watch-outs |
|---|---|---|---|
| Butyl rope/tape kit | Most OEM-style serviceable housings | Flexible, re-openable, good moisture resistance | Needs heat + even compression to seat well |
| RTV silicone kit | Minor exterior seams, non-service gaps | Easy to find, cures without heating | Can off-gas, can trap moisture, can complicate future opening |
| “Permaseal” repair kit | Hard-to-open assemblies | Can help when the channel is inconsistent | More sensitive to prep; failures often come from contamination |
| Full kit with prep tools | First-time DIY | Cleaner/primer options reduce redo work | Pay attention to chemical compatibility with plastics |
Why headlights leak or fog (and why sealant choice matters)
Condensation inside a headlight doesn’t always mean “bad sealant,” but it often points there. Many housings also have vents that equalize pressure; when a seal fails, humid air and water spray enter faster than the venting system can handle.
- Old butyl seam shrinks, especially after repeated heat cycles.
- Previous DIY reseal went uneven, leaving a thin spot that wicks water.
- Cracked housing tabs or warped lens edge prevents uniform clamping pressure.
- Contamination in the channel (dust, oily residue, old adhesive) stops bonding.
- Wrong material for the job, like using silicone where butyl should be, which can create gaps once it cures or make reopening destructive.
For most drivers looking for the best car headlight sealant kit, the “best” outcome is boring: the lens seats evenly, the vent works as designed, and you stop thinking about it.
Self-check: what type of headlight do you have?
Before you buy anything, identify whether your headlight is realistically serviceable. This is where a lot of money gets wasted.
- Serviceable butyl style (common): You can usually soften the seam with controlled heat, separate lens from housing, then reseal with butyl.
- Permaseal style (varies by model/year): The seam behaves like hard glue; opening can damage the channel. You may need specialty techniques, and resealing may need more than “rope.”
- Leak not at the lens seam: Look for cracks near mounting points, rear cover gaskets, bulb access caps, or wiring grommets.
Quick tell: if you see a rubbery black ribbon in the channel after opening, you’re in butyl territory. If it’s a hard, brittle adhesive, it’s often closer to permaseal behavior.
How to choose the best car headlight sealant kit (real criteria)
Instead of chasing “strongest,” focus on fit, flexibility, and serviceability. A solid kit usually checks these boxes:
- Correct sealant base: Butyl for main seams on most OEM housings; RTV silicone only when appropriate.
- Temperature tolerance that matches your climate: Hot regions punish low-grade materials that slump.
- Enough volume: Many failures come from stretching one roll too far and creating thin sections.
- Prep compatibility: Cleaner should be safe on polycarbonate and ABS plastics.
- Workability: If you’re DIY, a sealant that stays pliable longer is forgiving when you need to reposition.
If your main goal is stopping repeat fogging, a butyl kit with decent prep supplies tends to be the most reliable value, and it’s why it dominates “reseal” discussions.
Step-by-step reseal process (what tends to work in a home garage)
These steps assume a typical butyl-style headlight. If your housing behaves like permaseal, consider skipping to the “when to get help” section, because forcing it open can create more leaks than you started with.
1) Dry the headlight and confirm the leak path
- Remove bulbs/caps and let the unit dry fully; sealing in moisture is a common reason fog returns.
- Check rear covers, grommets, and vent tubes before you commit to opening the lens.
2) Open and clean like you mean it
- Soften the seam with controlled heat, then separate slowly to avoid warping.
- Remove old adhesive from the channel; leave a clean, continuous groove.
- Wipe surfaces with a plastic-safe cleaner; avoid leaving oily residue from hands.
3) Lay the sealant evenly
- Use one continuous run when possible, overlap ends slightly instead of leaving a butt joint gap.
- Don’t stretch butyl thin; press it into the channel so thickness stays consistent.
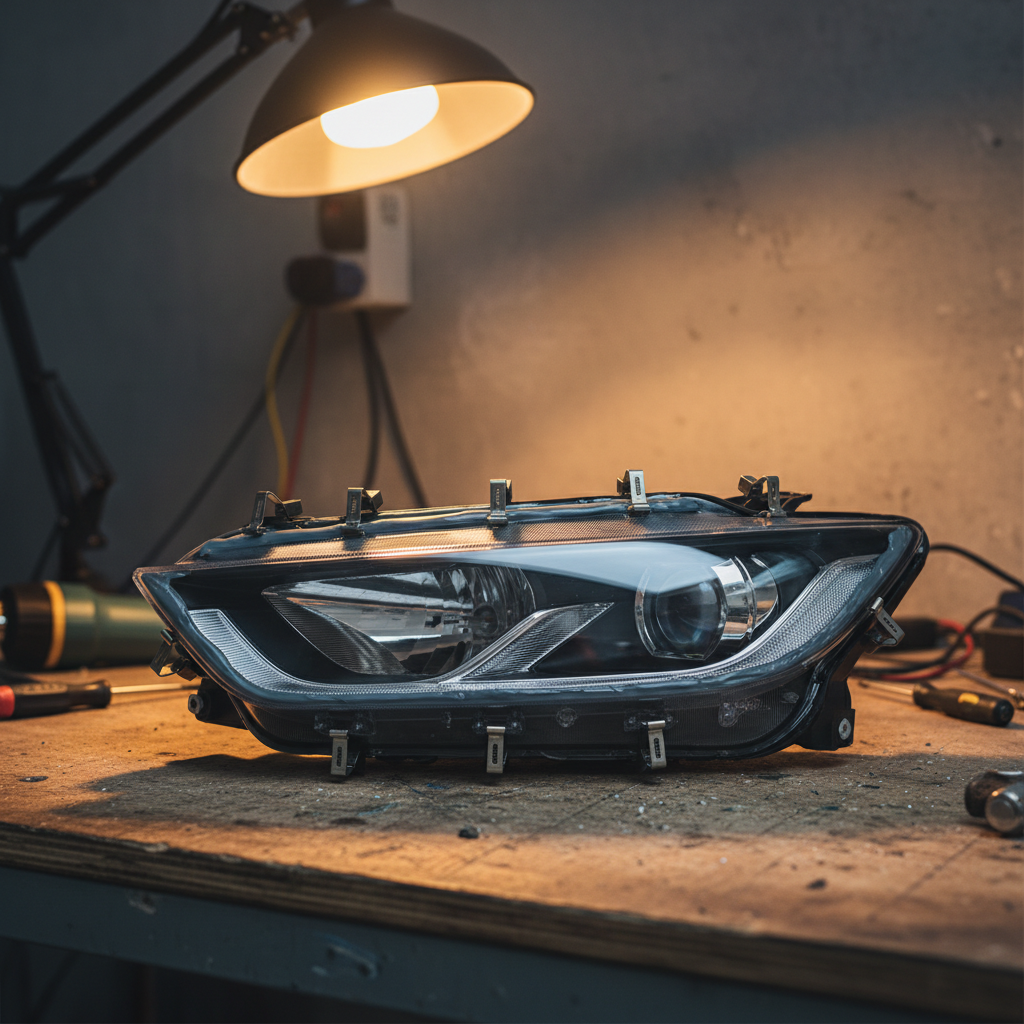
4) Clamp with even pressure and reheat if needed
- Seat the lens, apply uniform clamps, then reheat gently to help the seam flow and fill micro-gaps.
- Let it cool clamped so the seam sets in the correct shape.
5) Water test carefully
- A light mist test around the seam is safer than blasting it with a pressure washer.
- If you see a specific corner failing, reopen that area and add sealant rather than smearing more on the outside.
Key point: The best car headlight sealant kit won’t save a seam that never gets evenly compressed. Clamping and channel cleanliness matter about as much as the sealant itself.
Mistakes that waste time (and how to avoid them)
- Sealing over old material: New sealant on top of dusty adhesive often creates tunnels for water.
- Using silicone in the main channel “because it’s waterproof”: It can cure in a way that leaves voids, and it’s rough to service later.
- Ignoring vents: A blocked vent can trap humidity even with a perfect seam.
- Overheating the lens: Polycarbonate can haze or warp, which turns a leak fix into an optics problem.
- Exterior bead as a shortcut: It may hide the symptom while moisture still enters elsewhere, and it looks messy fast.
According to NHTSA, headlight performance is a safety issue because visibility and beam pattern matter. If you notice distorted output after a DIY reseal, it’s worth re-checking aim and lens clarity instead of assuming you’re done.
When it’s smarter to get professional help (or replace the unit)
DIY resealing is realistic for many cars, but a few scenarios tilt toward a shop or a full assembly replacement.
- Permaseal housings that crack during opening, especially when the channel deforms.
- Cracks around mounting ears that need plastic repair, not just seam sealant.
- Advanced LED or HID assemblies where moisture can damage drivers/ballasts; diagnostic steps may be worth it.
- Recurring condensation after a correct reseal, which may indicate vent design issues or hidden hairline cracks.
If you’re unsure, a reputable lighting retrofit shop or body shop can usually tell you quickly whether the housing is serviceable. In many cases, paying for a clean diagnosis beats buying three different products and still guessing.
Conclusion: a practical way to pick the right kit in 2026
If you want a safe default, choose a butyl-based kit with enough material for a continuous bead, plus cleaning supplies that won’t damage plastics. That combo covers the majority of reseal jobs and keeps future service possible. RTV silicone can work for targeted sealing, but it’s not the automatic “upgrade” many people expect.
Action steps that usually pay off: confirm the leak path before opening the lens, dry the assembly completely, then focus on even compression during reseal. Done carefully, the best car headlight sealant kit feels less like a miracle product and more like the final piece in a clean, repeatable process.
FAQ
What is the best car headlight sealant kit for condensation fixes?
In many cases, a butyl rope/tape kit works well because it stays flexible and reseats under clamping pressure, which helps prevent small gaps that let humid air in.
Can I use regular silicone caulk from the hardware store on headlights?
It’s tempting, but it’s risky. Many general-purpose silicones aren’t meant for automotive heat cycles or plastics, and some can make future opening very difficult. Automotive RTV is a safer category if silicone is appropriate for your spot.
Why do my headlights still fog after I resealed the lens?
Common causes include sealing in residual moisture, a blocked vent, or a leak from a rear cover/grommet instead of the lens seam. Rechecking those areas often finds the real culprit.
Is butyl sealant waterproof enough for heavy rain and car washes?
Usually yes when the channel is clean and the lens is clamped evenly. Aggressive pressure washing right at the seam can still force water into weak spots, so a gentle test is smarter.
How do I know if my headlight is “permaseal” and not butyl?
If the seam adhesive behaves like hard glue and doesn’t soften into a rubbery ribbon with controlled heat, it may be closer to permaseal. Model-to-model differences exist, so searching your exact vehicle platform helps.
Should I seal the outside edge of the lens as extra protection?
Sometimes it helps for a tiny exterior gap, but it can also mask a poor internal seal and look messy. It’s usually better to fix the primary seam correctly than to add an outer bead everywhere.
Do I need a primer or adhesion promoter?
Not always for butyl reseals, but it can help when surfaces are finicky or previously contaminated. If a kit includes it, confirm it’s safe for polycarbonate/ABS before using.
If you’re trying to stop recurring fogging and want a more predictable DIY result, look for a kit that bundles butyl sealant with plastic-safe cleaning supplies and enough material to avoid thin spots, it’s often the difference between “good for now” and “finally fixed.”