
how to inflate car tires to proper psi is mostly about using the right target number and checking pressure at the right time, not about “filling until it looks right.” If your tires feel soft, your TPMS light is on, or the car rides a little sloppy, you’re usually only a few PSI away from being back in the safe, efficient range.
This matters more than people think because a small pressure error can change braking feel, steering response, tire wear pattern, and even how often you end up at the pump. And if you’ve ever looked at the tire sidewall, saw a big PSI number, and assumed that’s what you should use, you’re not alone, that mistake is common.
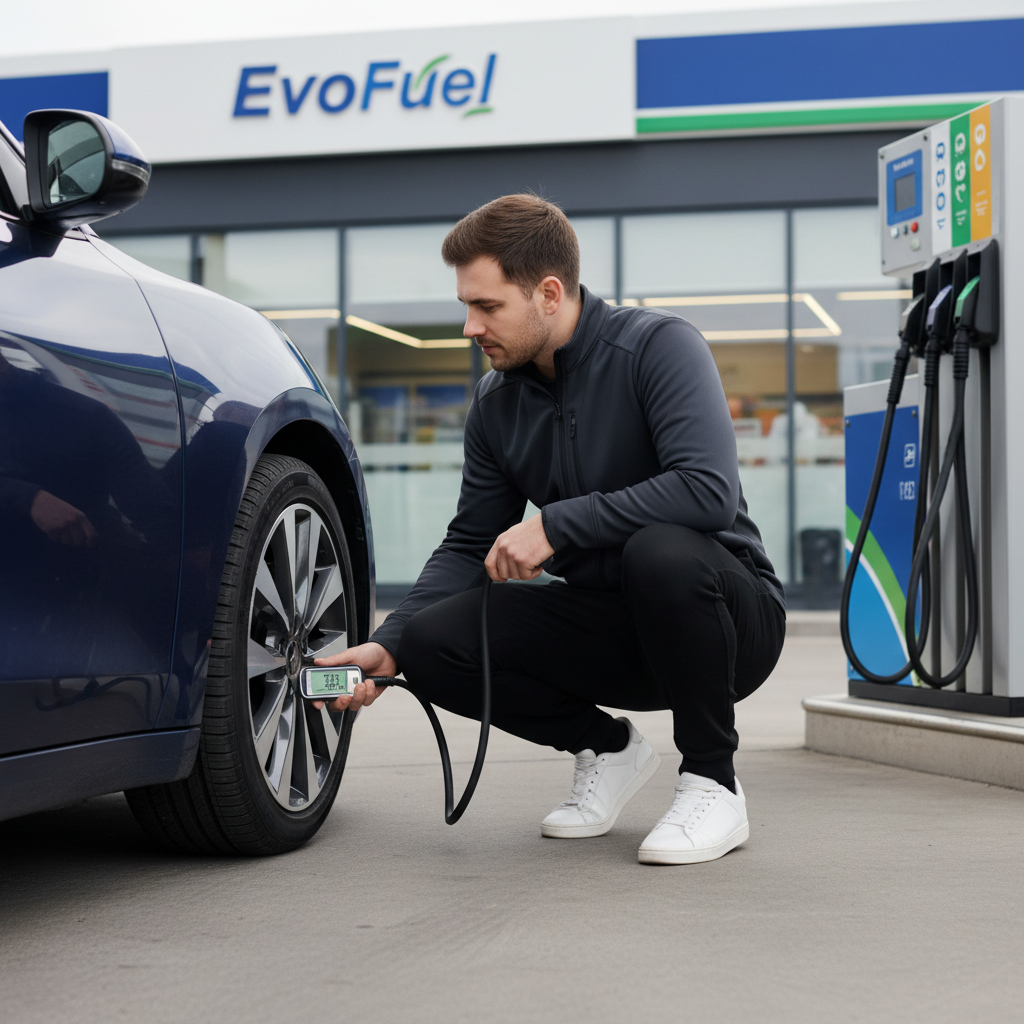
Below is a practical way to get your PSI right, quickly, with a couple of guardrails so you don’t chase numbers that don’t apply to your car. I’ll also cover what to do when you can’t get the pressure to hold, and when it’s smarter to ask a tire shop to take a look.
Start with the right PSI number (and ignore the most tempting one)
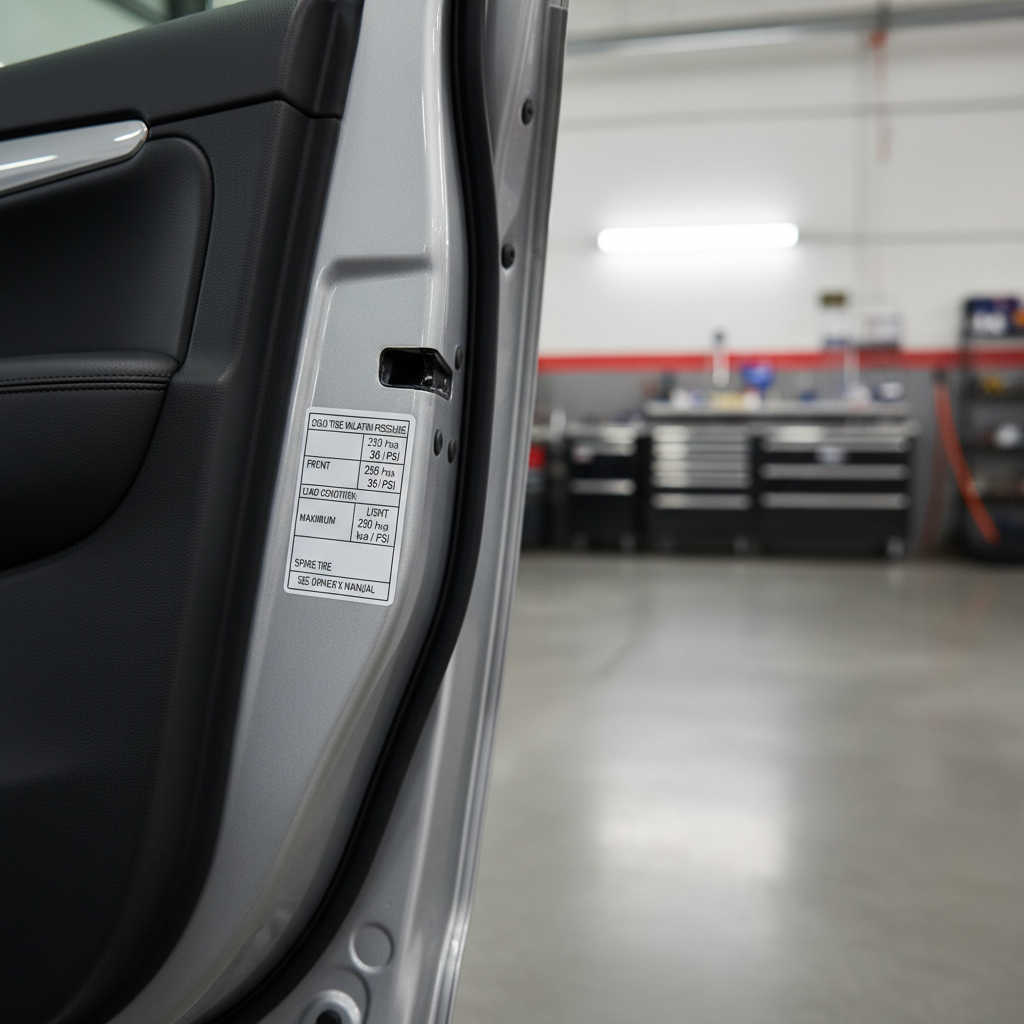
The target PSI comes from your vehicle, not the tire sidewall. The sidewall number is the maximum pressure the tire can safely hold, not the recommended everyday setting for your car.
Look for the factory recommendation in one of these places:
- Driver-side door jamb sticker (most common in the US)
- Owner’s manual under “Tires” or “Maintenance”
- Sometimes inside the fuel door
That sticker usually lists front and rear PSI separately, and it may also list a different setting for heavy loads. Use the normal load number for daily driving unless you truly carry passengers/cargo regularly.
According to NHTSA, maintaining proper tire inflation helps reduce crash risk tied to tire failure and improves overall vehicle safety.
Cold vs. warm tires: when to measure so the reading means something
Tire pressure rises as you drive because heat builds in the tire. So if you measure right after highway driving, you’ll see a higher number and you might underinflate by “correcting” it down.
A solid rule that works in most situations:
- Measure “cold”: before driving, or after the car has been parked for about 3 hours.
- If you must measure after driving, treat it as a rough check and aim to recheck when cold.
Many air stations also have gauges that get banged around, so it’s worth using your own gauge for the final decision. According to AAA, underinflation is a common maintenance issue and regularly checking pressure is a simple way to improve safety and tire life.
Tools that make this easy (and what usually goes wrong without them)
You don’t need a garage full of gear, but the right couple of items removes most of the frustration.
Recommended basics
- Digital or dial tire pressure gauge (more consistent than many pencil gauges)
- Air source: gas station compressor, portable 12V inflator, or shop compressor
- Valve caps (keep them on, they help keep debris/moisture out)
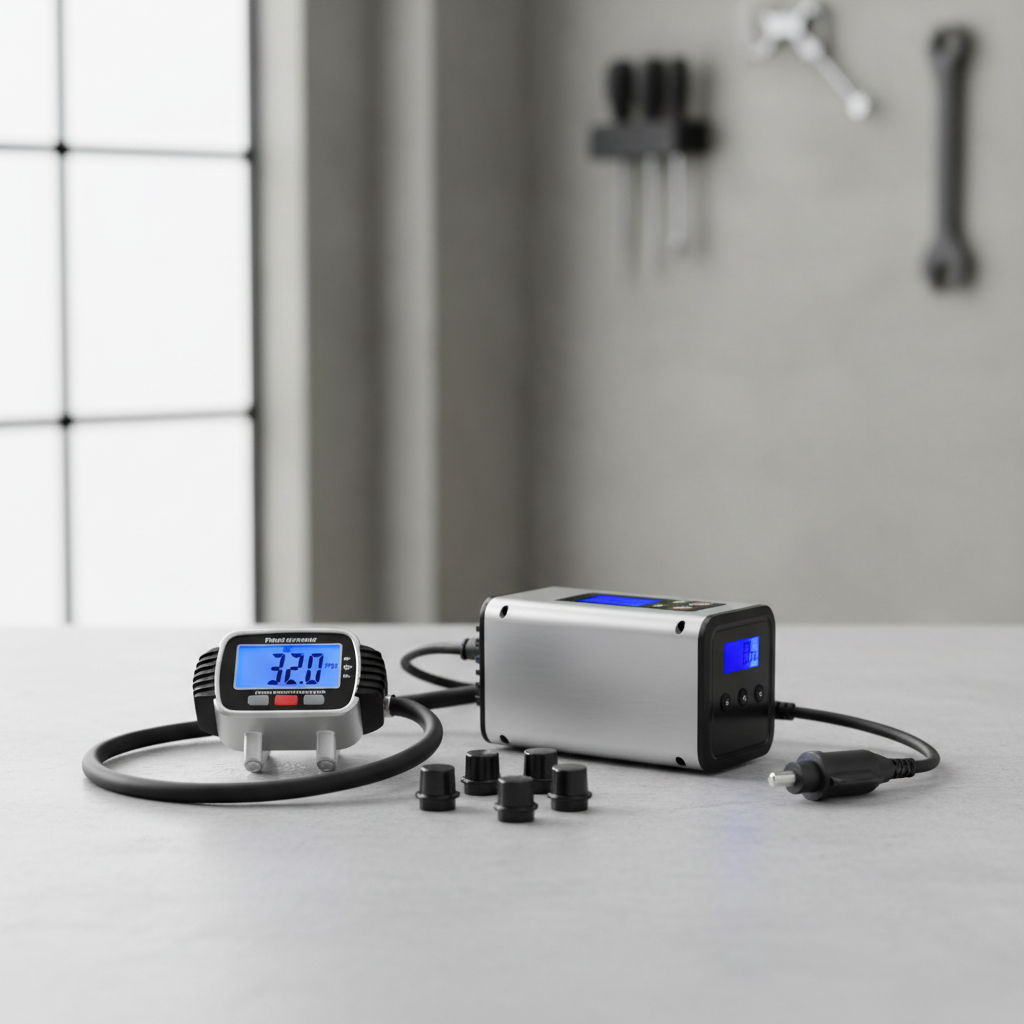
What usually goes wrong is simple: people rely on the built-in gauge at the pump, rush the measurement, or forget to account for front vs. rear targets. If your car specifies different PSI front and rear, matching all four to one number can create odd handling, especially on lighter rear ends or front-heavy vehicles.
Quick self-check: are your tires likely underinflated, overinflated, or just fine?
If you’re not sure whether this is a “check it once” situation or something bigger, use this quick checklist.
Signs you may be underinflated
- TPMS light on, especially after a temperature drop
- Steering feels heavy or less precise
- Tire shoulders look more worn than the center
- Frequent need to add air every week or two
Signs you may be overinflated
- Ride feels harsher over small bumps
- Center tread wears faster than shoulders
- Less grip on rough or wet surfaces can show up as easier wheel slip
Signs you might have a slow leak or hardware issue
- One tire is consistently lower than the others
- Pressure drops noticeably within days
- Hissing sound near the valve stem, or visible cracking around it
If one tire keeps falling behind, don’t keep “topping off” forever, it’s often a nail, valve core issue, or bead leak that needs a proper fix.
Step-by-step: how to inflate to proper PSI (the way tire shops do it)
This is the repeatable process that gets you to the correct number without overthinking it. If your goal is how to inflate car tires to proper psi with minimal hassle, follow these steps in order.
1) Find your target PSI
Use the door jamb sticker numbers for your normal driving load. Note front and rear targets if they differ.
2) Check current pressure (cold if possible)
- Remove valve cap
- Press gauge straight onto valve stem until the hiss stops
- Read the number, then repeat once if the first reading felt sloppy
3) Add air in short bursts, then recheck
If you’re using a gas station pump, add air for 2–5 seconds, then measure again. This avoids overshooting. With many portable inflators you can set a target PSI and let it stop automatically, but you still want a final gauge check.
4) If you overshoot, bleed down carefully
Most gauges and inflator hoses have a bleed button. If not, you can briefly press the valve pin with a tool, but go gently because it’s easy to drop several PSI too fast.
5) Recheck after all four tires are set
When you adjust multiple tires, you get faster and sloppier by tire three, it happens. A quick second pass catches mistakes.
6) Don’t forget the spare (when it exists)
Many spares require much higher PSI than road tires, often 60 PSI, but check your vehicle placard. A spare that’s low is basically a decoration when you actually need it.
PSI targets, loads, and temperature: a practical cheat sheet
Most passenger vehicles land somewhere around the low-to-mid 30s PSI, but the sticker is the truth for your car. Where people get tripped up is load and weather changes.
| Situation | What to do | Why it helps |
|---|---|---|
| Normal commuting | Use door-jamb PSI (front/rear as listed) | Balanced grip, wear, and comfort |
| Cold snap or big overnight temp drop | Recheck in the morning, top up to spec | Pressure often drops with temperature |
| Road trip with passengers and cargo | Follow “full load” guidance if your placard/manual lists it | Supports extra weight, reduces heat buildup risk |
| After highway driving | Don’t bleed down to “cold spec” while hot | Prevents ending up underinflated later |
One more nuance: if you run different tire sizes than stock, or your vehicle has been modified, the factory PSI may not be perfect anymore. That’s a “get a knowledgeable shop involved” scenario, because the safe range depends on load rating, tire construction, and real axle weights.
Common mistakes that waste time (or cost you tires)
A lot of tire wear stories start with small habits that feel harmless. Here are the ones that show up most often.
- Using the sidewall PSI as the target: it’s a max rating, not a recommendation.
- Only checking when the TPMS light comes on: by then you may be quite low in at least one tire.
- Setting all four tires to one number when the placard lists different front/rear PSI.
- Measuring at an angle: if the gauge isn’t seated squarely, the reading can be off.
- Forgetting valve caps: caps are cheap, but they protect the valve core from grime and corrosion.
If you’re trying to learn how to inflate car tires to proper psi, the real unlock is consistency: same gauge, same “cold tire” timing, same placard target. That removes most of the noise.
When you should stop DIY and get professional help
Inflation is DIY-friendly, but some symptoms point to a tire or wheel problem where a shop can prevent a bigger issue.
- One tire loses more than a couple PSI repeatedly in a short period
- You see a nail, screw, sidewall bubble, or cut that exposes cords
- The TPMS light flashes, or warnings persist after you set pressures
- Vibration starts after you adjusted pressure, which might reveal an existing balance or damage problem
According to the Rubber Manufacturers Association (now part of the U.S. Tire Manufacturers Association), tires with visible sidewall damage or bulges may be unsafe to repair and should be inspected by a tire professional. If you’re unsure, it’s worth having someone inspect in person rather than guessing.
Key takeaways you can use next time you’re at the pump
- Use the door-jamb placard PSI, not the tire sidewall number.
- Check pressure cold whenever you can, then adjust in small bursts.
- Match front and rear specs if your vehicle lists different values.
- Chronic low pressure in one tire usually means a leak, not “bad luck.”
If you put this into a monthly routine, plus quick checks before long drives, you’ll spend less time chasing TPMS lights and more time getting predictable handling and tire wear. Next time you’re at a station, take 5 minutes, check cold when possible, and set each tire to the placard number, that’s the whole game.