
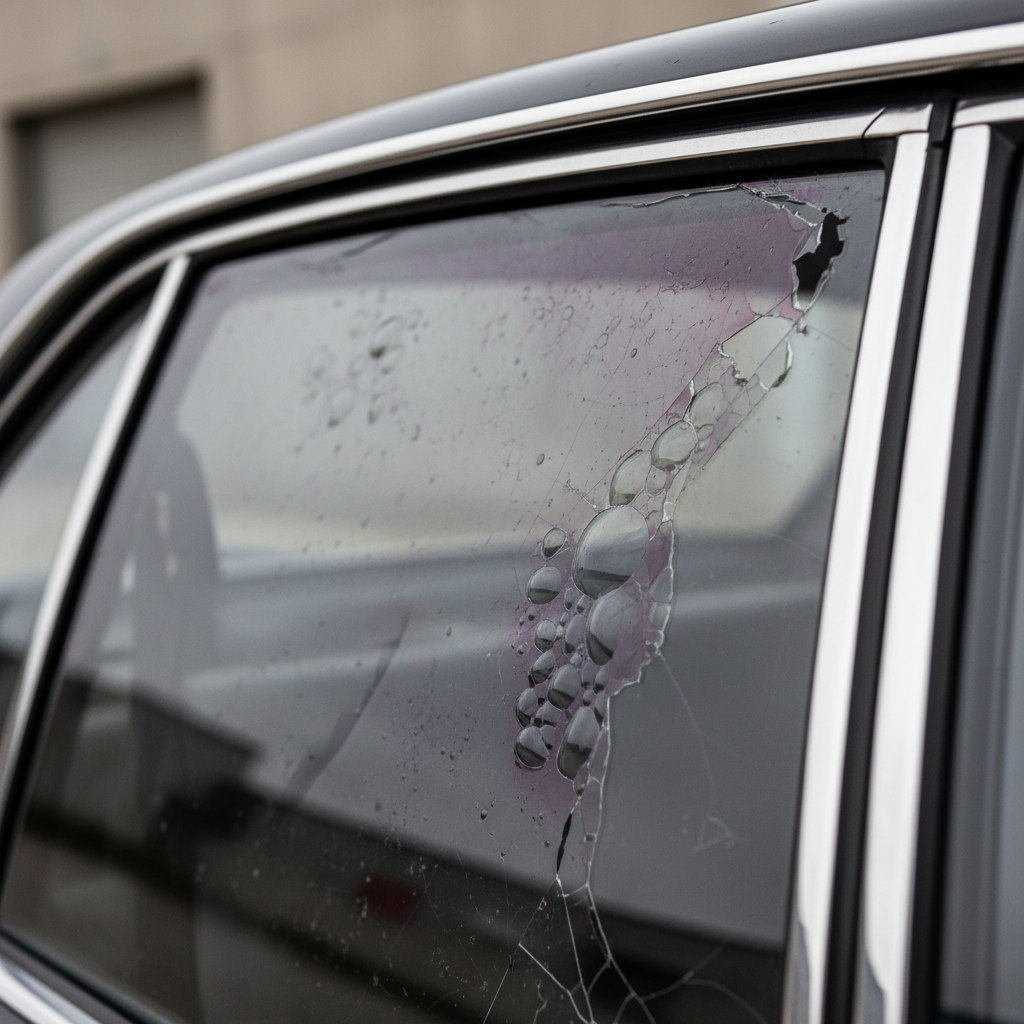
Best car window tint remover spray for old film searches usually come from the same headache: the tint is cracked or purple, the edges lift, and the glue feels like it fused to the glass. The right spray can make the job dramatically less miserable, but only if you pair it with the correct method and tools.
Here’s the honest part, most “tint remover sprays” are really one of three things: an ammonia-based cleaner, a citrus/solvent adhesive remover, or a general-purpose degreaser sold with car wording. They’re not equally safe on every surface, and they don’t all work well on old, sun-baked film.
This guide helps you choose a spray by scenario, avoid the common mistakes that cause scratches or defroster damage, and walk through a practical removal process you can actually follow on a weekend.
What “old film” changes, and why spray choice matters
Old window tint usually fails in layers, the polyester film gets brittle, the dye fades, and the adhesive turns gummy or crusty. If you treat it like fresh tint, you’ll spend hours scraping glue haze.
- More brittle film means it tears into confetti, so you need a spray that keeps the adhesive wet long enough to lift larger pieces.
- Heat-cured adhesive often responds better to ammonia or dedicated adhesive removers than to simple soap and water.
- Rear glass risk is higher because defroster lines can be damaged by aggressive scraping.
According to the U.S. Environmental Protection Agency (EPA), indoor air can be impacted by some household chemicals, so when you use ammonia or solvent products in a vehicle cabin, ventilation is not optional, it’s part of the job.
Quick self-check: what type of glass and tint are you dealing with?
Before buying anything, figure out what you’re removing, because the “best car window tint remover spray for old film” is different on a side window versus a rear window with defroster lines.
1) Identify the window
- Side windows: usually safest for scraping, easier access, fewer delicate elements.
- Rear window: defroster lines require a gentler approach, more soak time, less blade pressure.
- Windshield: many states restrict tint, and removal can expose stubborn adhesive near edges, be careful around the dash.
2) Identify failure mode
- Bubbling + purple fade: typical dyed film, adhesive often stubborn but manageable with heat + ammonia.
- Cracking + flaking: film is brittle, plan on slow peel, long dwell, multiple passes.
- “Hazy glue” after peel: adhesive remains, you need an adhesive remover phase, not more peeling.
3) Check for aftermarket vs factory
Factory “tinted glass” is usually pigment in the glass itself, there’s no film to remove. If you can’t catch an edge anywhere, you may be dealing with factory tint, in that case sprays won’t help because there’s nothing to peel.
What to look for in the best remover spray (and what to avoid)
A good remover spray for old tint does two jobs: it helps the film release and it softens adhesive residue. Most products lean hard into one side, so match it to your pain point.
- Long dwell time: you want a formula that stays wet for several minutes instead of flashing off instantly.
- Adhesive compatibility: “tar and adhesive remover” style products often work better on glue haze than plain glass cleaner.
- Controlled strength: strong solvents can soften plastics, stain headliners, or cloud some trims if oversprayed.
- Low streaking: old adhesive can smear, a product that wipes clean matters as much as raw dissolving power.
What to be cautious about: harsh overspray. Many people spray aggressively, then wonder why door panels look blotchy. Use towels as shields, and spray onto a cloth when working close to trim.
Spray types compared (table): choose by situation
This isn’t a brand shootout, because availability changes and formulas get revised. Instead, use this table to pick the type of spray that fits your window and residue.
| Spray type | Best for | Pros | Watch-outs |
|---|---|---|---|
| Ammonia-based (tint-friendly glass cleaner) | Softening adhesive under film, speeding peel | Often effective on old dye-film adhesive, affordable | Strong odor, ventilation needed, can affect some interior surfaces |
| Citrus adhesive remover | Glue haze after film removal | Good on gummy residue, pleasant smell in many cases | Can leave oily film, needs final glass cleaning |
| Solvent-based adhesive remover (auto-grade) | Stubborn, baked-on adhesive | Fast cutting action, fewer passes when used correctly | Higher risk of trim damage, test spot first |
| Soap + water (slip solution) | Lubrication for scraping, light residue | Cheap, low risk on interiors | Often too weak for old film adhesive alone |
If you’re trying to pick the best car window tint remover spray for old film, most DIY users end up doing well with a two-step approach: ammonia-based for the peel, then a dedicated adhesive remover for the leftover glue.
Step-by-step: remove old tint film with less scraping
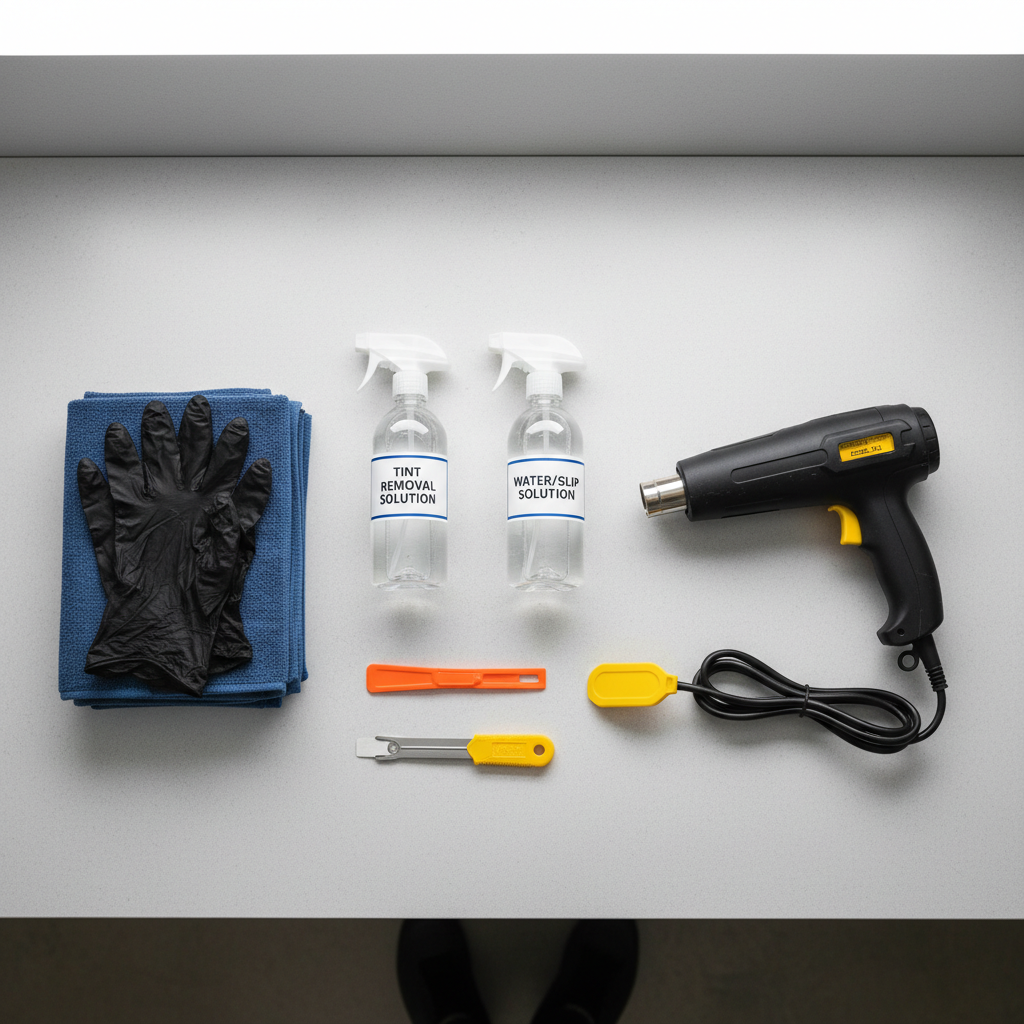
There are a few methods that work, but the “soak and lift” approach tends to be the least rage-inducing for old film. If you have a heat gun or steamer, even better, heat reduces how much chemical you need.
Prep (don’t skip this)
- Park in shade, warm glass helps, but direct sun dries sprays too fast.
- Wear nitrile gloves and eye protection, especially with ammonia or solvents.
- Protect door panels with towels, and keep a trash bag nearby for film strips.
1) Start an edge without gouging
- Use a plastic razor or plastic scraper to lift a corner.
- If you use a metal razor on side glass, keep it flat and lubricated, never dry-scrape.
2) Spray, wait, then peel slowly
- Mist your chosen spray under the lifted edge and onto the film surface.
- Let it dwell 3–8 minutes, re-wet if it dries.
- Peel at a low angle, slow and steady usually pulls more adhesive with the film.
3) Deal with adhesive haze separately
Once the film is off, switch mindsets. Now you’re doing adhesive removal, not tint removal. This is where many people waste time by continuing with the same spray that helped the peel.
- Apply adhesive remover to a microfiber, rub in small sections.
- Use a plastic scraper on rear glass to avoid catching defroster lines.
- Finish with a normal glass cleaner to remove oily residue and streaks.
Rear window and defroster lines: special rules that prevent damage
Rear defroster grids can be fragile. The adhesive can be removed, but scraping across the lines aggressively is where people get into trouble.
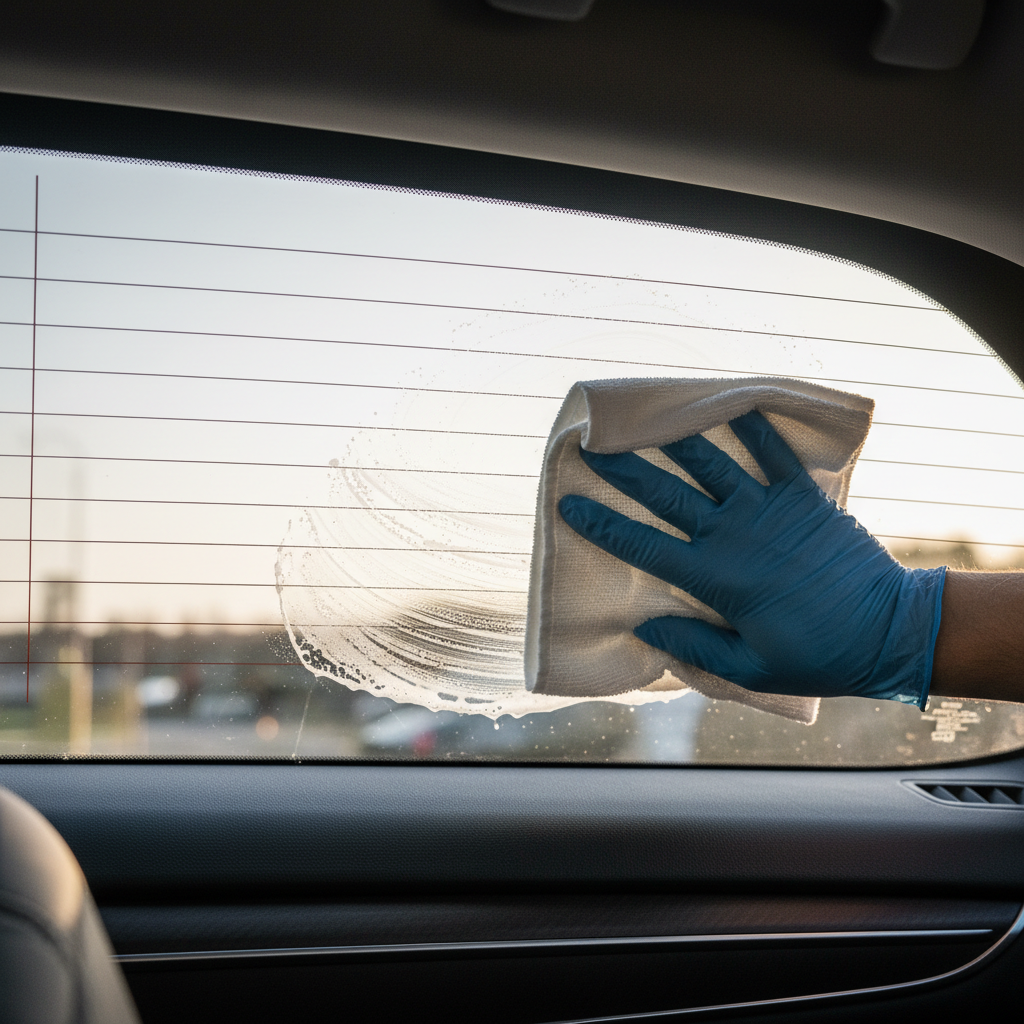
- Prefer heat + dwell time over force, a steamer often helps loosen adhesive evenly.
- Wipe along the lines when possible, not across them.
- Plastic tools only if you must scrape, and keep the surface wet.
- Test a small spot with your spray, some solvents can soften nearby plastics or discolor fabrics if they run.
According to the National Highway Traffic Safety Administration (NHTSA), clear visibility is part of safe driving. If your rear glass ends up streaky or hazy, take the time to re-clean, it’s not just cosmetic.
Common mistakes that make the job worse (and how to dodge them)
- Rushing the dwell time: old adhesive needs soaking, repeated light sprays beat one quick wipe.
- Dry scraping: this is how you earn permanent scratches, always keep the glass lubricated.
- Using one product for everything: peeling and de-gluing are different phases, plan for two cleaners.
- Overusing heat: too much heat near seals and trim can warp or soften materials, keep the heat moving.
- Ignoring fumes: open doors, work outside when possible, and take breaks if you feel irritated.
When it’s worth paying a pro (and what to ask them)
DIY is realistic for many side windows, but some situations lean professional: rear glass with stubborn adhesive, antique vehicles with delicate trim, or tint that shatters into tiny shards. If you have asthma or chemical sensitivities, it may be smarter to avoid strong ammonia/solvent exposure and consult a professional detailer or tint shop.
- Ask what method they use for rear defroster grids, and whether they avoid aggressive scraping.
- Ask how they protect interior panels from overspray and drips.
- Confirm they’ll finish with a streak-free glass polish/cleaner step, not just “remove the film.”
Conclusion: the practical pick for old film (and your next step)
The best car window tint remover spray for old film is usually the one that matches your phase of work, ammonia-based or similar for loosening and peeling, then a true adhesive remover for the leftover glue. Add patience and a safe scraper, and the whole job shifts from “nightmare” to “annoying but doable.”
If you do one thing today, do a small test patch on the hardest window, then buy the spray type that actually solves what you see, brittle film, glue haze, or both.
Key takeaways
- Old tint fails differently, expect brittle tearing and stubborn adhesive.
- Two-step chemistry usually beats one all-purpose spray.
- Rear defrosters need gentle tools and longer soak time.
- Ventilation matters with ammonia or solvent products.
FAQ
What is the best car window tint remover spray for old film if the tint is cracking?
Cracking usually means the film is brittle, so you want a spray that keeps adhesive wet long enough to lift larger sections, paired with heat or steam when possible. Plan on more dwell time than you think.
Can I use ammonia on all car windows?
Many people use ammonia-based products on glass, but overspray can affect interior plastics, rubber, and upholstery. If you use it, ventilate well and shield trim with towels, and test a small area first.
What removes tint glue fastest after the film is off?
A dedicated adhesive remover often works faster than general glass cleaner. Citrus-based removers are common for DIY, stronger solvent removers can be quicker but deserve more caution around trim.
Will a razor blade scratch my windows?
It can, especially if you scrape dry or hit debris trapped under the blade. Keep the glass wet, use a fresh blade, and consider plastic tools for rear windows and delicate areas.
How do I remove tint from a rear window without damaging defroster lines?
Use heat or steam, let your spray dwell longer, and avoid aggressive scraping across the lines. Gentle wiping and plastic scraping with plenty of lubricant is safer in many cases.
Why is my glass still hazy after I removed the tint?
That haze is typically adhesive residue or an oily film left by adhesive remover. Re-clean with a proper glass cleaner and microfiber, and repeat a small adhesive-remover pass if it still grabs or smears.
Is it safer to remove tint in hot sun?
Warm glass helps, but direct sun dries sprays quickly and can make chemicals flash off before they work. Shade with mild warmth usually feels more controllable for DIY.
If you’re trying to pick a spray and want the least trial-and-error approach, start by deciding whether you’re mainly fighting brittle film or glue haze, then choose a remover type that matches that stage, it’s a small decision that can save a lot of scraping time.