
Best car bumper repair kit shopping gets confusing fast because “bumper damage” can mean anything from a shallow scuff to a cracked plastic cover that flexes every time you close the trunk.
If you pick the wrong kit, the repair might look fine in the garage and then spider-crack after a week of heat, rain, or a couple of parking-lot taps. Pick the right one, follow the cure times, and you can usually get a solid, paint-ready surface without paying a body shop for every small hit.
This guide focuses on what actually matters in 2026 kits: compatibility with common bumper plastics, sandability, flexibility, adhesion, and how the kit fits your comfort level. I’ll also share a quick decision checklist, a side-by-side table, and a practical workflow that keeps first-time DIYers out of trouble.
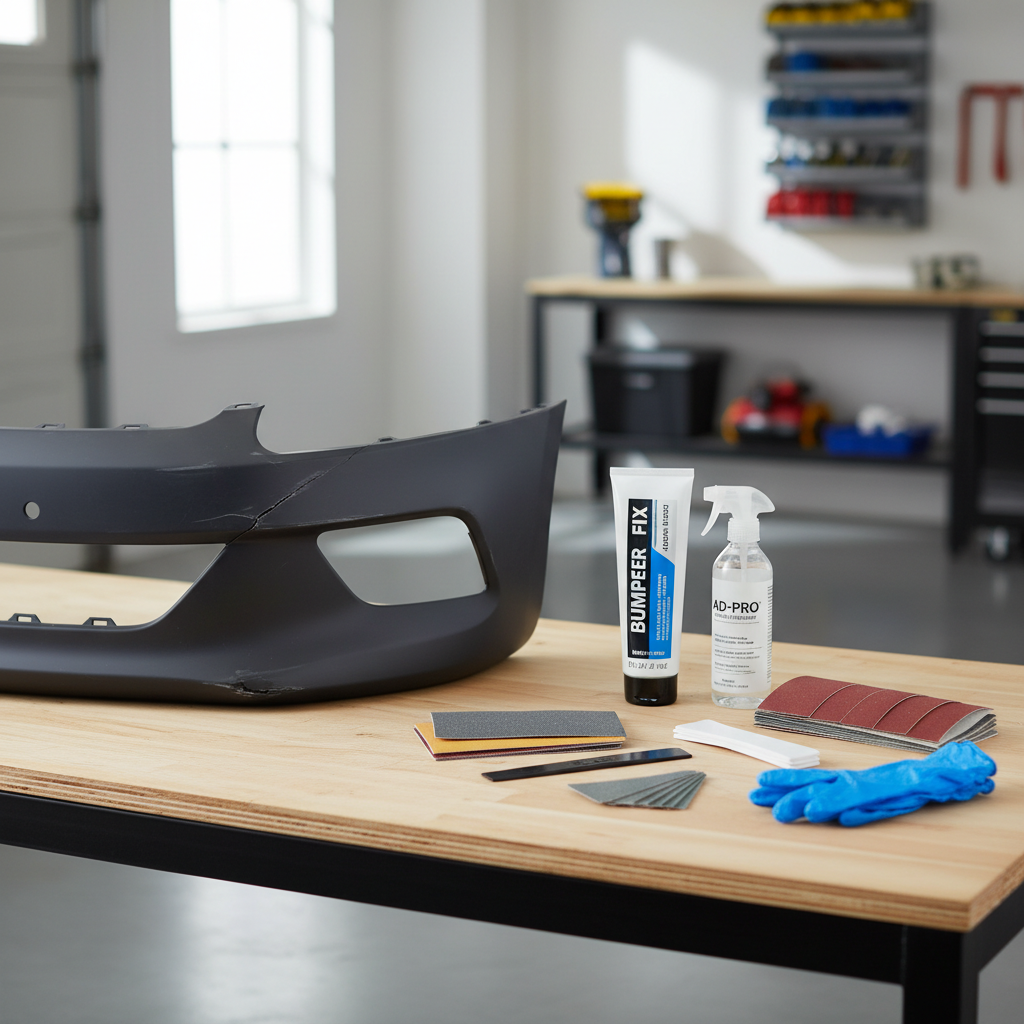
What a “bumper repair kit” usually includes (and what it often skips)
Most bumper kits are a bundle of a few essentials, plus some convenience items. The gap between “kit contents” and “what you actually need” is where a lot of DIY repairs go sideways.
- Filler or plastic repair material: Either a 2-part filler (often polyester) or a plastic-specific repair compound.
- Hardener: For 2-part systems, mixing ratio matters more than most people expect.
- Sandpaper assortment: Usually a few grits, sometimes not enough range for a clean feather edge.
- Spreaders: Helpful, but you still need mixing boards or clean cardboard.
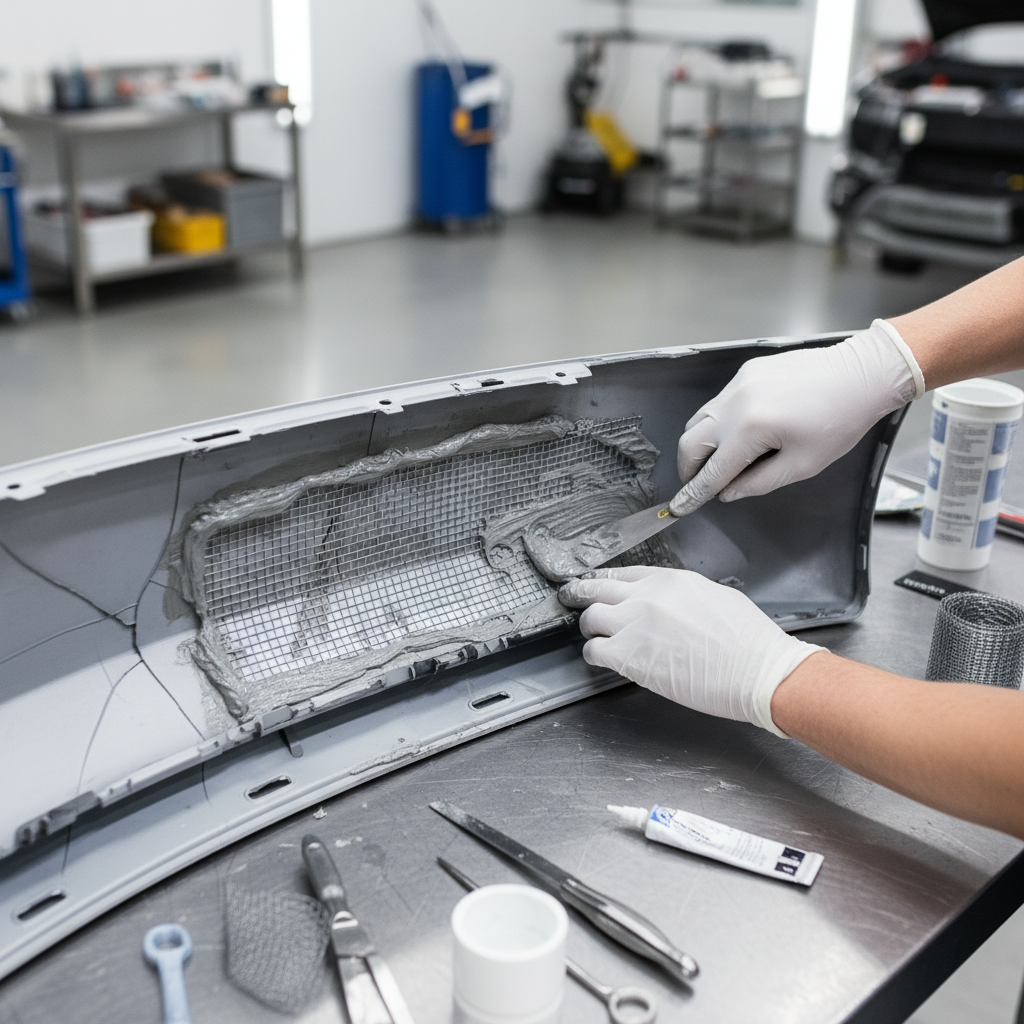
- Optional mesh/fiberglass: Some kits include backing for cracks, many don’t.
What’s commonly missing: adhesion promoter for plastic, a true plastic welder, a quality primer, and any color-matching paint. You can still do a good repair, you just need to plan for those extras when the damage calls for them.
How to choose the right kit: match the kit to your bumper material and damage
Choosing a best car bumper repair kit is less about brand hype and more about two questions: what the bumper cover is made of, and whether the damage is cosmetic or structural. Many modern bumper covers are thermoplastics such as PP/TPO blends, which can flex a lot; rigid fillers may crack later if the surface keeps moving.
Step 1: Identify the plastic (or assume it’s flexible)
Look for a material stamp on the inside of the bumper cover: PP, TPO, PUR, ABS are common. If you can’t access it, it’s safer to assume it needs flexibility and strong adhesion. According to I-CAR, correct identification of plastic type and repair method selection are key factors in durable plastic repairs.
Step 2: Classify the damage
- Paint-only scuffs: Usually needs sanding, cleaning, primer, and paint more than “repair compound.”
- Gouges and missing material: Needs filler plus careful shaping.
- Cracks, splits, torn tabs: Often needs reinforcement, plastic welding, or a structural plastic repair approach.
- Out-of-shape bumper cover: Heat reshaping might be required; filler alone rarely fixes distortion.
Quick comparison table: which kit type fits which job
This table is intentionally practical. It’s not “which kit is best overall,” it’s “which kit is best for your specific repair outcome.”
| Kit type | Best for | Pros | Watch-outs |
|---|---|---|---|
| 2-part bumper filler kit | Gouges, chips, small dents on plastic covers | Easy to sand/shape, widely available | Can crack on high-flex areas if prep is weak |
| Plastic repair epoxy kit | Cracks, small splits, tab repairs | Stronger bonding than basic filler in many cases | Some epoxies sand “gummy” if not fully cured |
| Plastic welding kit | Long cracks, torn edges, structural plastic repairs | True fusion repair when done right | Learning curve, risk of warping from heat |
| Scratch/scuff repair kit | Clearcoat failure, light scuffs | Fast cosmetic improvement | Doesn’t fix cracks or missing material |
Self-check: are you a good candidate for a DIY bumper kit?
Before you buy anything, run this quick check. It saves money because it tells you when a kit is enough and when it’s likely to become a frustration project.
- Damage size: If the crack runs across a corner or mounting point, DIY is possible but reinforcement matters.
- Flex zone: If you can press the area and it flexes a lot, you need a flexible repair system plus adhesion promoter.
- Paint expectations: If you want it “invisible,” plan for primer, paint match, and blending.
- Time: Rushed cure times are a top reason repairs fail, especially in humid or cold garages.
- Tools: At minimum you want a sanding block, a way to clean (wax/grease remover), and decent masking supplies.
If you’re already thinking “I just want the crack to stop spreading,” you’re in the right mindset, durability first, cosmetics second.
What “best” means in 2026: features that actually predict a durable repair
Marketing terms change, but the same performance markers keep showing up in repairs that last.
- Plastic compatibility: The label should mention plastic bumpers, not just “body filler.”
- Sandability window: Some compounds sand nicely only within a certain time; miss it and you fight it.
- Flexibility: Especially for PP/TPO bumper covers, a slightly flexible repair tends to survive better.
- Adhesion system: A separate adhesion promoter step often makes the difference on slick plastics.
- Work time vs cure time: Longer work time helps beginners, but don’t ignore full cure before primer.
According to 3M, surface preparation and correct product selection are central to achieving strong adhesion in automotive repairs, and that matches what most DIYers see: prep beats “miracle” filler almost every time.
Practical workflow: repair, prep, prime, paint (without making it worse)
The best car bumper repair kit won’t save a repair done over silicone residue or loose paint. This workflow keeps the process controlled and repeatable.
1) Clean like you mean it
- Wash with soap and water, dry completely.
- Use wax and grease remover, then a clean lint-free cloth.
- Avoid household cleaners that leave residue, they can mess with adhesion.
2) Open up the damage and feather the edges
- Sand until you reach stable material, remove flaking paint.
- For cracks, lightly V-groove the crack line on the face side, many techs do this to give repair material “bite.”
- On the back side, consider reinforcement for anything longer than a hairline crack.
3) Apply adhesion promoter if the system calls for it
This step feels optional, but on many bumper plastics it’s the difference between “stuck” and “peels off in sheets.” Follow label flash times.
4) Mix and apply repair material in thin passes
- Mix thoroughly, incorrect mixing leaves soft spots.
- Build slightly proud of the surface, then sand back.
- Don’t chase perfection on the first pass, two thin coats often beat one thick blob.
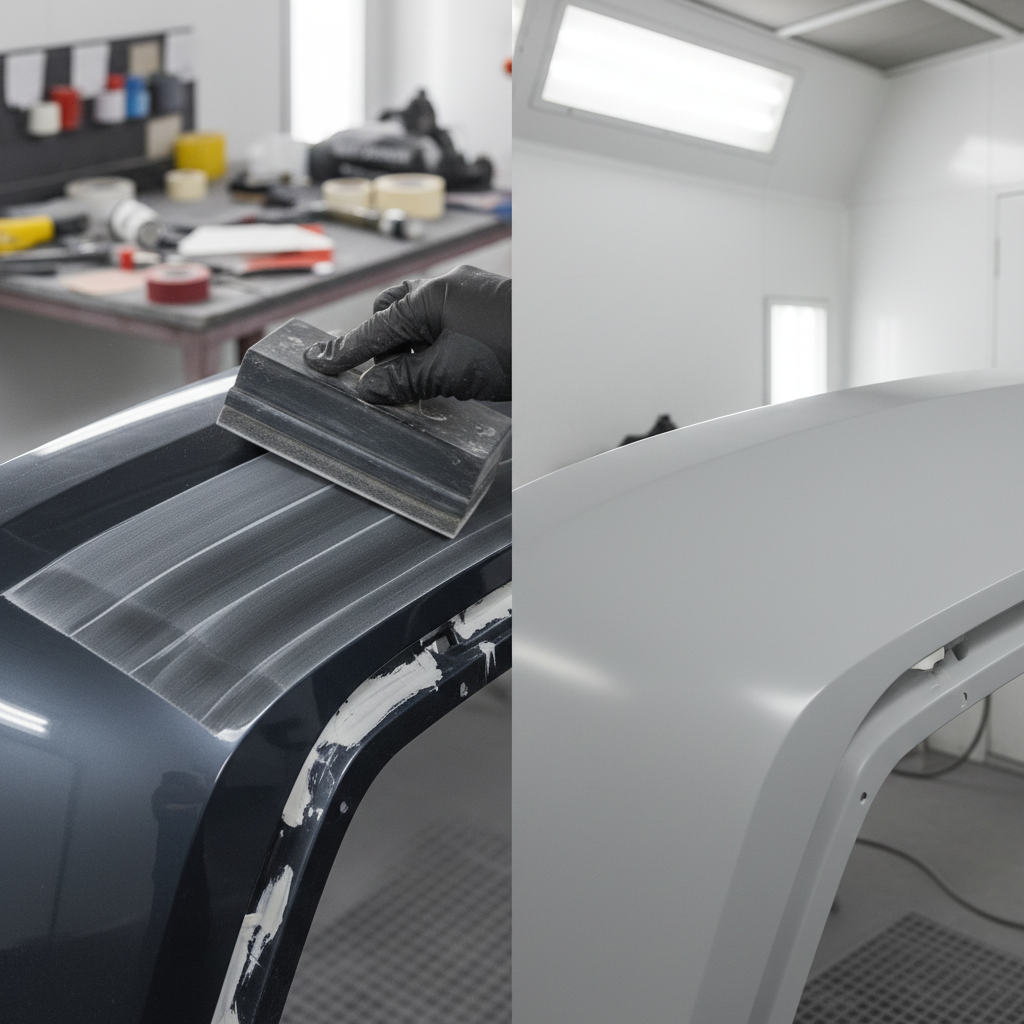
5) Sand and shape with intent
- Start coarser, finish finer, use a block so you don’t create waves.
- Feel with your hand, your fingertips catch highs and lows better than your eyes.
6) Prime and paint with flexible parts in mind
Use a primer suited for plastic and your paint system, then follow with matched paint. If you’re unsure about compatibility across brands, sticking within one paint system usually reduces surprises.
Mistakes that waste the most time (and how to avoid them)
Most DIY failures look like “bad product,” but they usually trace back to a few predictable errors.
- Skipping full cure: Sanding or priming too early can trap solvents or smear material.
- Applying filler over glossy paint: You want a mechanically keyed surface, not a slick one.
- Overheating plastic when using heat tools: Warping creates a shape problem filler can’t hide.
- No reinforcement on a moving crack: A crack at a corner often needs support from the back side.
- Painting without a plan: Color match and blending are their own skills; sometimes the repair is fine and the paint makes it look “off.”
If your goal is “looks decent from five feet,” you can simplify. If your goal is “hard to spot up close,” slow down and treat the paint steps like half the job.
When to stop DIY and talk to a pro
A kit is great for many driveway repairs, but there are cases where professional help saves money, especially if you’re trying to avoid repeat work.
- ADAS sensors and radar behind the bumper: Many newer vehicles hide sensors behind covers; misalignment can affect systems. According to NHTSA, ADAS features are safety-related and repairs should be performed correctly, when in doubt, consult a qualified repair facility.
- Broken mounts, absorber, or reinforcement: If the structure behind the cover is damaged, cosmetics won’t address safety or fit.
- Large tears or missing chunks in high-stress areas: Plastic welding or part replacement might be more reliable.
- Airbag deployment history or frame concerns: That’s beyond a cosmetic repair, professional inspection is the safer call.
Key takeaways before you buy
- Match the kit to the job: scuffs, gouges, and cracks need different approaches.
- Prep is the multiplier: cleaning, sanding, and adhesion steps determine durability.
- Plan the paint steps early: the repair can be perfect and still look wrong without good refinishing.
- Don’t gamble with sensors: when safety systems sit behind the bumper, a shop consult is often worth it.
If you want a practical next step, identify your bumper plastic (or assume flexible), then choose between filler, epoxy-style plastic repair, or welding based on whether you’re dealing with a gouge or a crack. That one decision narrows your options quickly and makes “best” feel less like a guess.
If you’re comparing kits right now, make a short list and check three things on every label: plastic compatibility, required prep products, and cure time at your garage temperature. It’s not glamorous, but it prevents most redo jobs.