
how to replace car headlight high beam bulb is usually a straightforward job, but the small details decide whether it takes 10 minutes or turns into an hour of frustration.
If your high beams look yellow, one side is out, or the “brights” indicator works but the road stays dark, the bulb is often the culprit, but not always. A quick, careful replacement can restore nighttime visibility and help you avoid glare issues caused by mismatched bulbs.
I’ll walk you through how to confirm you’re dealing with a high beam bulb (not a fuse, relay, or housing issue), pick the correct replacement, and install it without touching the glass or cracking a clip.
Before you buy anything: confirm it’s the high beam bulb
Many drivers assume any front light problem equals “bulb,” then end up returning parts. Spend two minutes checking, it saves time.
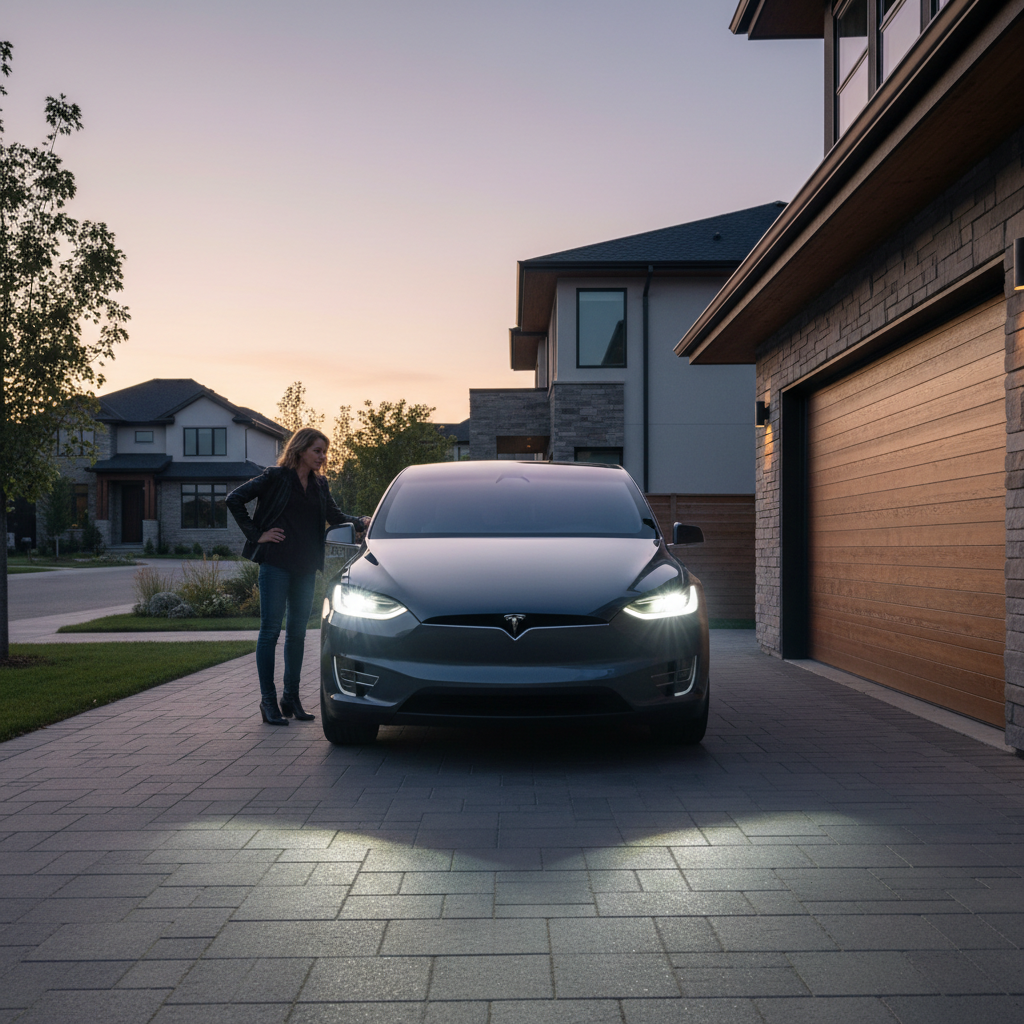
Quick checks that usually narrow it down:
- Swap test (if accessible): If left high beam is out, swap left and right bulbs. If the problem moves, the bulb is likely bad.
- High vs low beam: Some cars use a dual-filament bulb for both, others use separate bulbs. Make sure you’re replacing the high beam position.
- Connector check: With the lights off and cool, gently inspect the plug for corrosion, melted plastic, or a loose fit.
- Fuse/relay: If both high beams are out at the same time, a fuse, relay, or switch issue becomes more likely than two bulbs failing together.
According to NHTSA, using headlights properly is a key part of nighttime driving safety, and any lighting fault should be addressed promptly. If you suspect wiring damage or heat-melted connectors, it may be safer to have a technician inspect it.
Tools and parts you’ll typically need
You can often replace a high beam bulb with no special tools, but access varies a lot by vehicle. Some models have tight engine-bay clearance, others require removing a cover, intake tube, or even a headlamp assembly.
- Correct replacement bulb (match type number, not just “looks similar”)
- Nitrile gloves or a clean paper towel (keeps skin oils off the bulb)
- Small flathead screwdriver (only if your cover clip needs it)
- Flashlight
- Owner’s manual (for bulb type + access notes)
Tip that prevents most wrong purchases: confirm the bulb type using your owner’s manual, the label on the back of the headlight, or a reputable parts catalog by year/make/model/trim.
Bulb type and fit: what matters (and what doesn’t)
Getting the correct bulb type is non-negotiable. The housing and connector are designed for a specific base and lock pattern, forcing the wrong one can damage the socket.
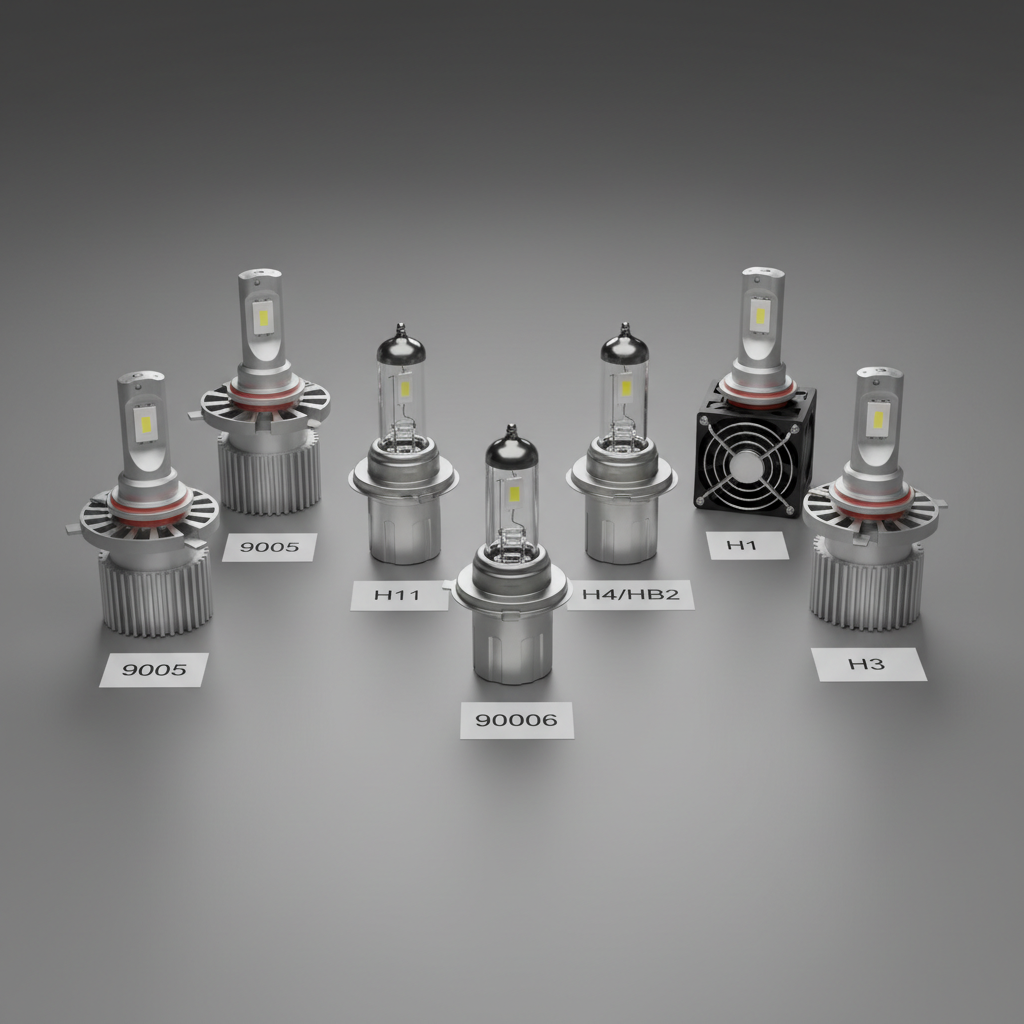
Brightness and color are where people overthink. In real use, a well-aimed standard bulb often beats an “ultra blue” bulb that reduces usable light in rain.
High beam bulb options at a glance
| Option | Pros | Cons / watch-outs | Best for |
|---|---|---|---|
| Halogen (OEM-style) | Simple fit, predictable beam pattern, usually lowest cost | Shorter lifespan than some premium options | Most drivers who want plug-and-play |
| Premium halogen | Often whiter light, sometimes longer life | Can cost more, “whiter” can mean less contrast in bad weather | Frequent night driving on rural roads |
| LED retrofit (if compatible) | Potentially brighter, crisp color | Fitment, dust cover clearance, heat management, glare risk if beam pattern is off | Specific housings proven to work well with LED |
Practical rule: if your car came with halogen highs, replacing with the same type keeps installation easy and beam performance predictable. LED conversions can work in some setups, but they are more likely to create stray glare if the optics were not designed for them.
Step-by-step: how to replace a high beam bulb (most vehicles)
This is the general method that covers many cars, SUVs, and light trucks. Your access steps may differ, but the “don’t touch the glass” part stays the same.
- 1) Park safely and let everything cool. Turn off lights, set parking brake, and give the headlight area time to cool. Hot bulbs can burn skin and crack if handled wrong.
- 2) Open the hood and locate the high beam socket. Look behind the headlight assembly. If there are two bulbs, high beam is often the inner one, but check the manual.
- 3) Remove the dust cover (if equipped). Some twist off, some pull off. Keep it clean, dust inside the housing causes haze over time.
- 4) Disconnect the wiring connector. Press the tab, then pull straight back. If it feels stuck, don’t yank by the wires.
- 5) Release the bulb from the housing. Common styles: twist-lock (rotate counterclockwise) or spring clip (unhook carefully).
- 6) Install the new bulb. Hold by the base. Align tabs, then lock it in place. It should seat evenly without force.
- 7) Reconnect the connector and reinstall the dust cover. A loose cover can let moisture in, then you’ll see fogging.
- 8) Test high beams and low beams. Confirm both sides match color and intensity, then check the dash indicator.
If you accidentally touch the bulb glass: clean it with isopropyl alcohol and let it dry completely before installation. Skin oils can create hot spots that shorten bulb life.
Self-check: are you in a “simple swap” or a “something else is wrong” situation?
When people say they tried how to replace car headlight high beam bulb and it “didn’t work,” it’s usually one of these patterns.
- Simple swap likely: one side out, other works; connector looks clean; no moisture inside housing; bulb filament looks broken (halogen).
- Electrical issue possible: both high beams out; new bulb still dead; fuse blows again quickly; connector shows melting.
- Housing/aim issue possible: bulb turns on but road illumination is poor; beam looks scattered; condensation persists.
If you fall into the electrical or housing categories, slow down and inspect, repeated bulb replacements won’t solve it.
Common mistakes that shorten bulb life (or create glare)
A replacement can “work” and still be wrong in a way you only notice later, like rapid burnouts or angry flashes from oncoming drivers.
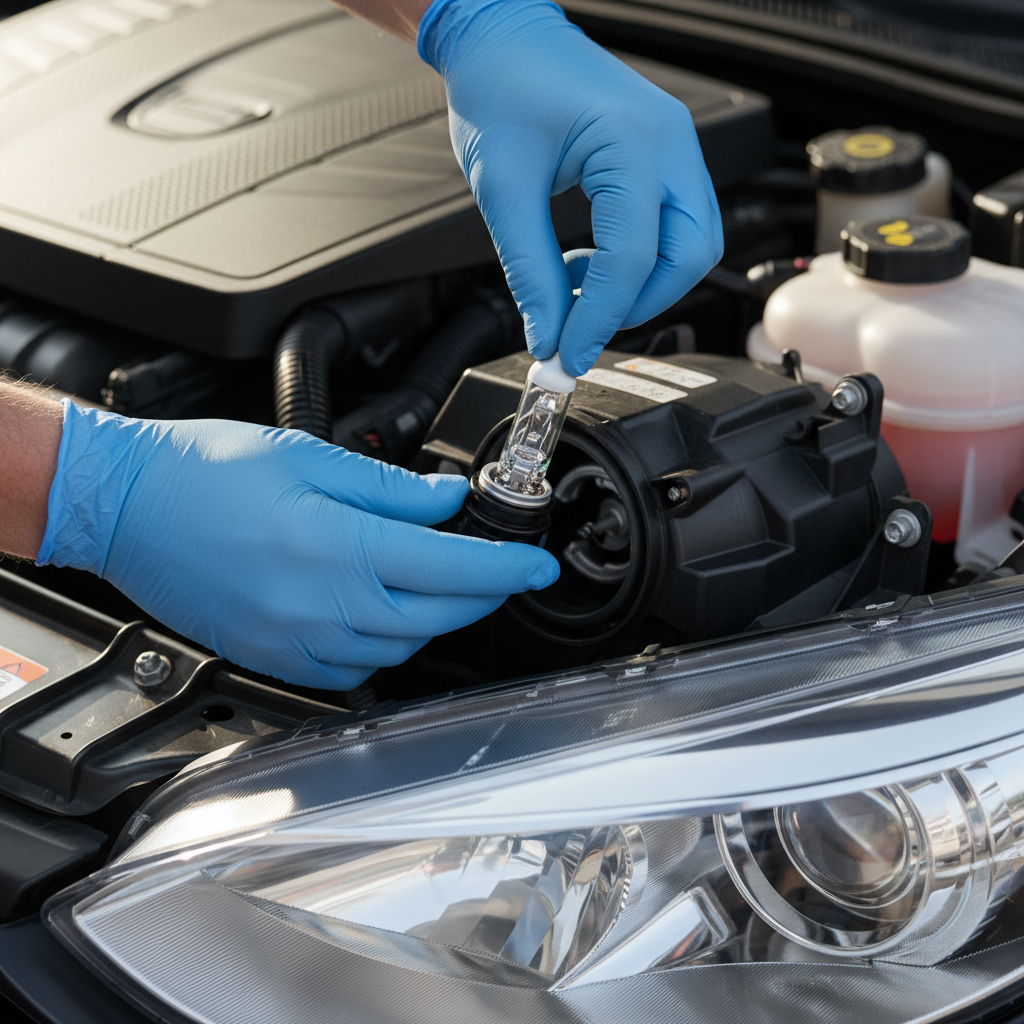
- Touching the glass: common, easy to avoid, and a frequent cause of early failure.
- Not seating the bulb fully: even slightly off can distort the beam pattern, especially on reflector housings.
- Skipping the dust cap: moisture and dust inside the housing leads to fogging and reduced output.
- Mixing bulb brands/types side-to-side: color mismatch is annoying, and intensity mismatch can make you think one side is still “bad.”
- Upgrading without checking legality/fit: some LED retrofits may not behave well in halogen optics. If beam cutoff and hotspot look wrong on a wall test, reconsider.
According to SAE International, proper headlamp beam pattern and aim are central to seeing distance without creating excessive glare. If your light pattern looks messy after a bulb change, it’s worth re-checking seating and aim.
When it’s smarter to get professional help
Replacing a high beam bulb is usually DIY-friendly, but there are a few “stop and delegate” moments.
- Repeated failures (bulbs burning out quickly): could be vibration, charging system issues, or poor-quality parts.
- Melted connector or brittle wiring: heat damage can worsen and may require repair.
- Headlamp removal required: some vehicles demand bumper or assembly removal, which raises the chance of broken clips and misalignment.
- Moisture inside the headlamp: might be a seal problem, not a bulb problem.
If you see electrical arcing, smell burning plastic, or the fuse blows repeatedly, consider consulting a qualified mechanic or auto electrician. Electrical issues can be safety-sensitive.
Key takeaways and a quick action plan
If your goal is a clean, reliable fix, treat this as a small checklist job rather than a random parts swap. Confirm high beam vs low beam, buy the correct bulb type, install it cleanly, and test the pattern on a wall before you call it done.
Do this next: verify your bulb number from the owner’s manual, then replace both high beam bulbs as a pair if the other side looks dim or old, many drivers find the match is worth the small extra cost.
FAQ
- How do I know which bulb is the high beam?
Many vehicles place high beam toward the inside of the headlight assembly, but some use a single dual-function bulb. The owner’s manual or the bulb chart for your exact trim is the safest way. - Should I replace both high beam bulbs at the same time?
Often, yes. If one failed from age, the other may be close behind, and replacing as a pair helps keep color and brightness consistent. - Why did my new high beam bulb burn out so fast?
Common causes include touching the glass, a bulb not fully seated, poor-quality bulbs, or an electrical/charging issue. If failures repeat, a shop inspection may be smarter than guessing. - Can I install LED bulbs for my high beams?
Sometimes, but fit and beam pattern vary by housing. If the beam scatters or creates glare on a wall test, consider returning to halogen or seeking a compatible setup recommended for your specific headlamp design. - My high beam works but the road is still dark, what’s going on?
Mis-aimed headlights, cloudy lenses, moisture in the housing, or an incorrectly seated bulb can all reduce usable light. Check seating and lens condition before buying more parts. - Do I need to disconnect the battery to replace a high beam bulb?
Usually not for a simple bulb swap, as long as the lights are off and the connector is handled carefully. If you’re working near damaged wiring or removing assemblies, disconnecting the battery can be a reasonable precaution. - Is it normal to struggle with tight space behind the headlight?
Yes, some engine bays are cramped. Turning the front wheels for fender-well access, removing a cover, or loosening an intake tube can help, but if it requires major disassembly, a technician may save you time.
If you’re in a hurry or you’ve tried how to replace car headlight high beam bulb and the light still won’t behave, it may be worth having a shop confirm the bulb type, check the connector, and test voltage at the socket, it’s often the fastest way to avoid repeated returns and late-night visibility surprises.