
how to replace headlight bulb is usually a lot easier than people expect, the hard part is figuring out what type of bulb you have and how your specific headlight housing opens up.
If your headlight looks dim, flickers, or went out completely, it is more than an annoyance, it can cut your visibility and make your car harder to spot. In many states, a failed headlight can also earn you a ticket, so this is one of those quick fixes worth doing sooner rather than later.
This guide walks you through a practical, real-world method: identify the correct bulb, decide whether to access from behind the housing or through the wheel well, swap the bulb without damaging it, then verify beam aim and function. You will also see when it makes sense to stop and get help.
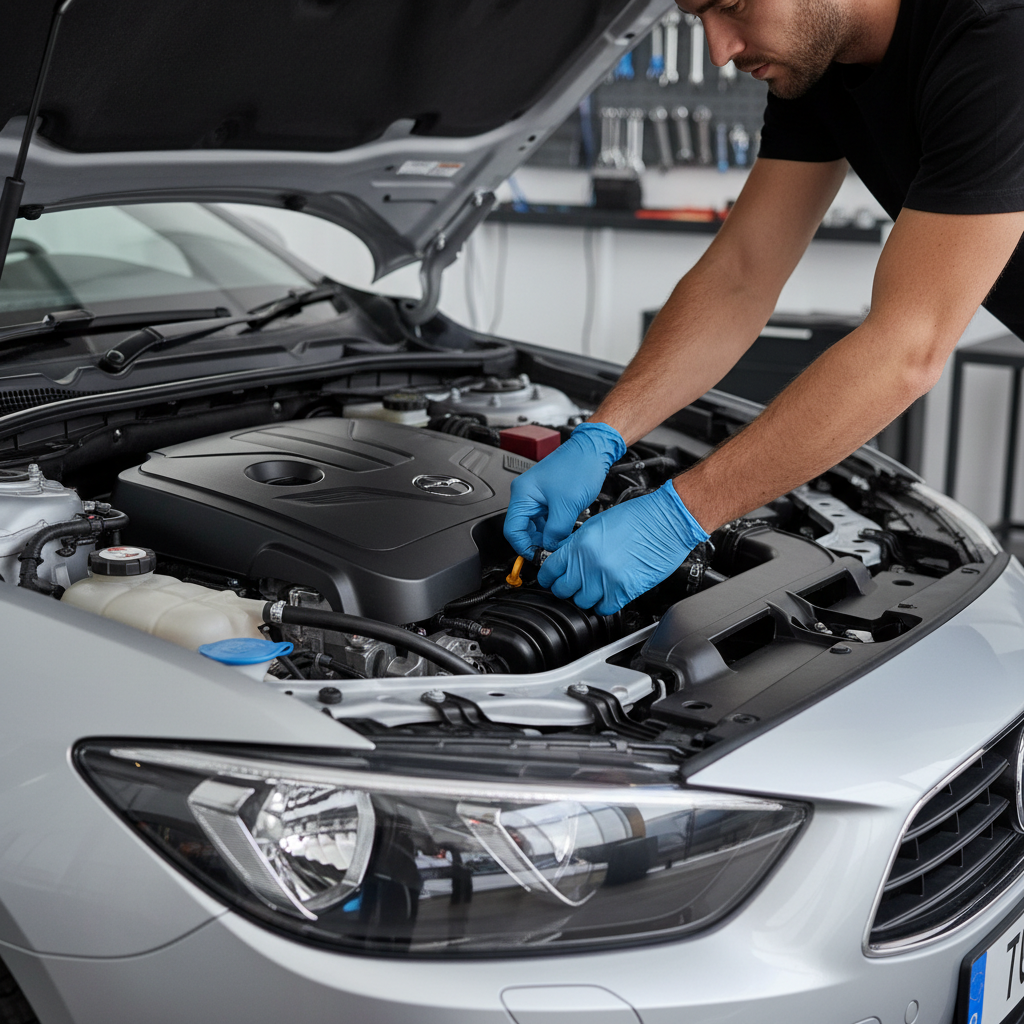
Before you start: safety and a quick reality check
You can replace most bulbs at home, but headlights sit near wiring, sharp metal edges, and sometimes very hot parts. Give the car a few minutes to cool, and work in a well-lit, flat area.
According to NHTSA, headlights are a key safety component for night driving and visibility, so if you are unsure about wiring damage or moisture inside the housing, it may be smarter to have a shop inspect it instead of forcing a quick swap.
- Turn the car off, set the parking brake, and remove the key or fob from proximity.
- Let the headlight cool if it was just on, halogen bulbs can get very hot.
- Consider disconnecting the negative battery terminal if you will be working near exposed wiring or tight metal brackets.
- If your vehicle uses HID or LED assemblies, check the manual first, some systems have higher-voltage components or sealed units.
What causes a headlight bulb to fail (and what it might not be)
Most of the time it is simply a worn bulb, especially if you notice one side out and the other still working. But there are a few patterns that change the diagnosis.
- Normal wear: halogen filaments thin over time, brightness drops before failure.
- Oil contamination: touching a halogen bulb glass with bare fingers can create hot spots and shorten life.
- Moisture in the housing: a bad rear cap seal can lead to corrosion at the connector.
- Voltage issues: a weak alternator or poor ground can cause flicker, rapid burnouts.
- Not a bulb at all: blown fuse, bad relay, damaged socket, or a headlight control module problem.
If both headlights go out at once, pause. A fuse, relay, or switch issue becomes more likely than two bulbs failing on the same day.
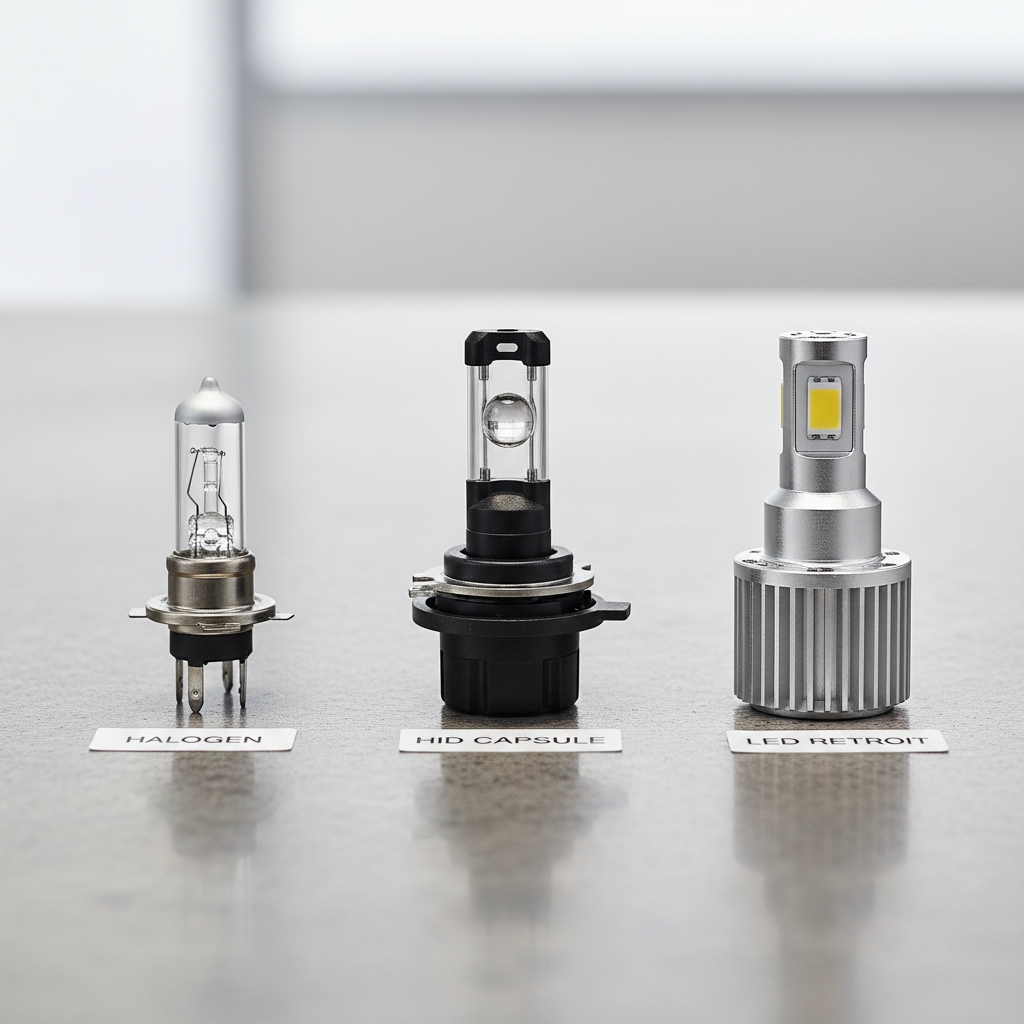
Self-check: identify your bulb type and access route
Before you buy anything, you want two answers: what bulb type your car uses, and how you physically reach it. This is where many DIY attempts stall.
Fast ways to confirm bulb type
- Check the owner’s manual bulb chart, often under “Maintenance” or “Specifications.”
- Look at the existing bulb base for markings like H11, 9005, 9006, 9012.
- Use a reputable parts site with year/make/model/trim, then double-check the bulb code against your old bulb.
Common access designs
- Rear-of-housing access from the engine bay, most common, usually the easiest.
- Wheel well access through a small liner flap, common on compact cars.
- Full headlight assembly removal on some SUVs and trucks, more time but still DIY-friendly.
One more practical tip, if your car has very tight clearance, having a small mirror and a headlamp light makes a big difference.
Tools and supplies checklist (keep it simple)
You usually do not need a big toolbox. What you need depends on access, but this list covers the typical situation.
- Replacement bulb(s), ideally replace both sides if they are the same age
- Nitrile gloves or clean paper towel to handle halogen bulbs
- Small flathead screwdriver for clips, if needed
- Socket set (often 8mm, 10mm) for covers or air box bolts
- Dielectric grease (optional) for the connector, helpful in humid or salty areas
Step-by-step: how to replace a headlight bulb (most vehicles)
This workflow fits many cars. Your exact clip style can differ, so use these steps as a pattern and match what you see.
1) Open up space and locate the rear cap
Find the headlight housing from inside the engine bay. If an air intake snorkel or battery cover blocks access, remove only what you must, keep bolts in a small tray so nothing disappears.
2) Remove the dust cover or access cap
Many housings have a round plastic cap that twists off. If it feels stuck, slow down and check for tabs, forcing it can crack the cap and invite moisture later.
3) Disconnect the bulb connector
Press the locking tab and pull straight back. If the connector does not budge, wiggle gently while holding the tab fully depressed, avoid yanking on wires.
4) Release the bulb retainer and remove the old bulb
Depending on design, you will either twist the bulb counterclockwise to unlock, or unclip a metal spring retainer. Note the orientation, the new bulb must seat the same way to aim correctly.
5) Install the new bulb without touching the glass
For halogen, handle only the base, or use gloves. Insert, seat fully, then lock in place. A bulb that is slightly mis-seated can look “on” but throw a messy beam pattern.
6) Reconnect and test before reassembling everything
Turn the headlights on, confirm low beam vs high beam, then turn signals if you were near that harness. If it does not light, power off and recheck connector seating and bulb lock position.
7) Reinstall the dust cap and any parts removed
This step seems minor, but that rear cap is what keeps condensation out. If the cap gasket looks damaged, consider replacing it.
Quick reference table: bulb types, pros, and DIY gotchas
People often buy “brighter” bulbs without thinking about longevity or compatibility. Here is a grounded way to compare what you might see at the parts store.
| Bulb type | Typical pros | Common DIY gotchas |
|---|---|---|
| Halogen (H11, 9005, 9006) | Affordable, widely available, easy swap | Do not touch glass, “extra bright” versions may not last as long |
| HID / Xenon (D1S, D2S, etc.) | Strong output, good long-range visibility | Some systems have igniters/ballasts, parts cost higher, access varies |
| LED (factory) | Efficient, long life in many cases | Often integrated modules, replacement may mean assembly or driver issues |
| LED retrofit in halogen housing | Whiter color, potentially brighter | Beam pattern and legality can vary, glare risk if not designed for housing |
After the swap: aim check, pairing bulbs, and common mistakes
Once you know how to replace headlight bulb on your car, the difference between a clean DIY and an annoying redo usually comes down to these details.
- Replace in pairs: many drivers swap only the dead side, then the other side fails soon after, plus color and brightness mismatch looks odd.
- Do a quick aim check: park 20–25 feet from a wall on level ground, beams should be even left-to-right and not pointing into oncoming-driver eye level.
- Watch for condensation: light fogging after weather swings can happen, but persistent moisture suggests a cap or seal issue.
- Skip bulb “upgrades” that create glare: brighter is not always safer if the beam scatters, other drivers flash you for a reason.
According to SAE International, proper beam pattern and aim are central to headlighting performance, so if your new bulb looks scattered or uneven, seating and aim deserve a second look before you blame the bulb brand.
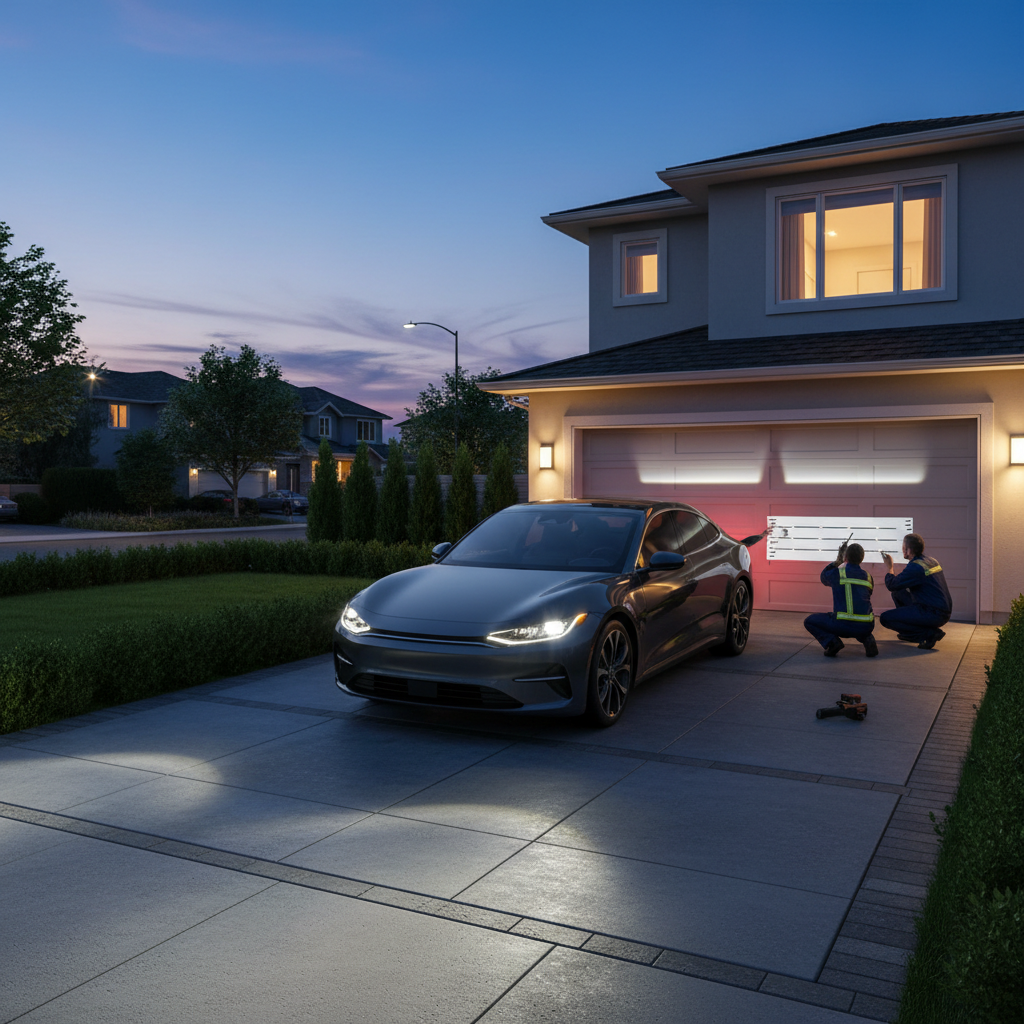
When to stop DIY and get professional help
Some headlight issues look like a simple bulb, but are actually electrical or housing problems. If any of these show up, a mechanic or auto electrician can save you time and parts.
- Both headlights out, or intermittent operation that comes and goes with bumps
- Burning smell, melted connector, or brittle wiring insulation near the socket
- Repeated bulb failures within months, which may point to voltage or moisture issues
- Factory LED headlight with a sealed module, where “bulb replacement” is not really a thing
- You replaced the bulb correctly, but beam pattern looks dangerous or mis-aimed
If you suspect wiring damage or a high-voltage HID component problem, it is reasonable to consult a professional, many shops can diagnose quickly with a multimeter and visual inspection.
Key takeaways (save this before you grab tools)
- Confirm bulb type from the old bulb or manual before buying.
- Do not touch halogen glass, handle the base only.
- Test lights before reinstalling covers and trim.
- If both headlights fail, look at fuses/relays rather than assuming two bad bulbs.
- A quick aim check improves safety more than chasing the “brightest” bulb on the shelf.
Conclusion: a small job that pays back every night drive
Learning how to replace headlight bulb turns a frustrating “I have to go to a shop” moment into a quick maintenance habit, and it also helps you spot bigger issues like moisture, damaged connectors, or aim problems before they turn into recurring failures.
If your headlight just burned out, start by matching the bulb code, swap both sides if they are the same age, and take two minutes to confirm beam pattern against a wall. If anything feels off, flicker, melted plastic, or repeated failures, bringing in a pro is a sensible next move.