
How to restore foggy headlights usually comes down to two things: removing the oxidized, cloudy layer on the plastic lens and then sealing it so the haze doesn’t return in a few weeks. If you only “polish,” they can look better for a moment, then fade fast.
Foggy headlights are more than cosmetic. You may notice weaker light output, glare that scatters oddly, and reduced contrast on dark roads. It’s the kind of slow problem people adapt to until one rainy night makes it obvious.
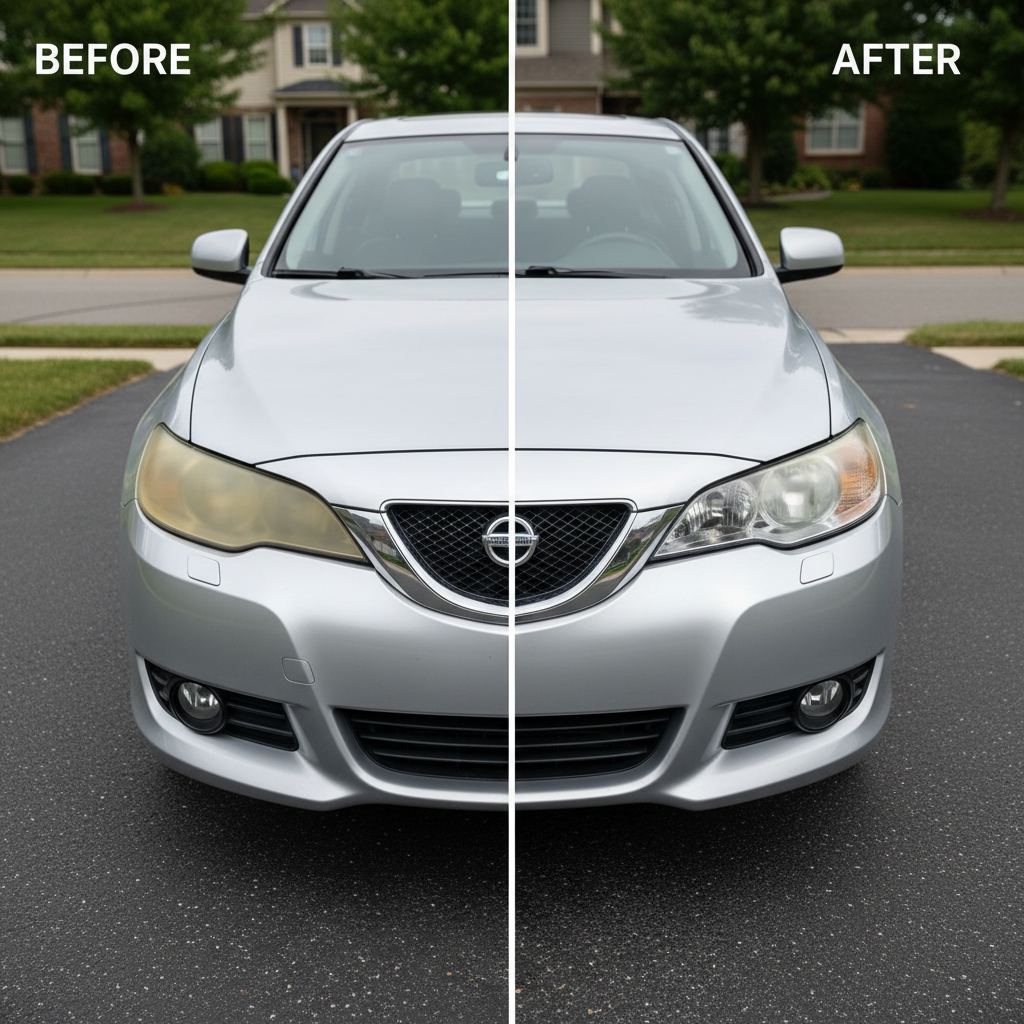
This guide walks through the main causes, a quick self-check to pick the right method, and a practical step-by-step process you can do at home. I’ll also flag the spots where people burn time (or damage the lens) so you can avoid the common traps.
Why headlights get foggy (and what “fog” really is)
Most modern headlights use polycarbonate plastic, which is tough but not immune to UV and road abuse. That “fog” you see is often oxidation, tiny surface pitting, plus contamination baked in by sun and heat.
- UV exposure: The factory UV clear coat breaks down over time, then the plastic below starts oxidizing.
- Road grit and micro-scratches: Sand, salt, and debris roughen the surface, scattering light.
- Harsh chemicals: Strong cleaners can strip protective coatings faster than you’d expect.
- Moisture inside the housing: If the lens fogs from the inside, that’s usually a seal/vent issue, not surface oxidation.
According to the National Highway Traffic Safety Administration (NHTSA), headlights are a core safety component for night driving visibility. If your output is clearly reduced, treating it as a safety fix (not just detailing) is the right mindset.
Quick self-check: which restoration approach fits your headlights?
Before buying anything, take two minutes to figure out what you’re actually dealing with. This saves you from using a “wipe-on miracle” for a problem that needs sanding.
- Run a fingernail across the lens: If it feels rough or chalky, oxidation is likely on the surface.
- Spray water on the lens: If it looks clear while wet but hazy when dry, you often need abrasion + protection, not just cleaning.
- Look for cracks or deep crazing: Spider-web cracks inside the plastic usually won’t fully restore.
- Check for condensation inside: If moisture is trapped behind the lens, restoration won’t fix the root cause.
Choose your method: a realistic options table
There isn’t one “best” method, there’s the method that matches the severity and how long you want results to last. Here’s a practical comparison.
| Method | Good for | Typical durability | Main downside |
|---|---|---|---|
| Clean + protect (no sanding) | Very light haze, mostly grime | Weeks to a few months | Won’t remove real oxidation |
| Polish/compound only | Light oxidation, shallow haze | 1–3 months if unsealed | Often re-fogs quickly without UV protection |
| Sand + polish + seal (kit) | Most foggy/yellow lenses | 6–18+ months (varies by sealant) | More time, technique matters |
| Professional refinish or lens replacement | Deep damage, cracks, internal issues | Varies | Higher cost |
If you’re searching how to restore foggy headlights because night visibility feels meaningfully worse, the sand-polish-seal route is usually where the “real” fix lives.
Tools and materials (and what you can skip)
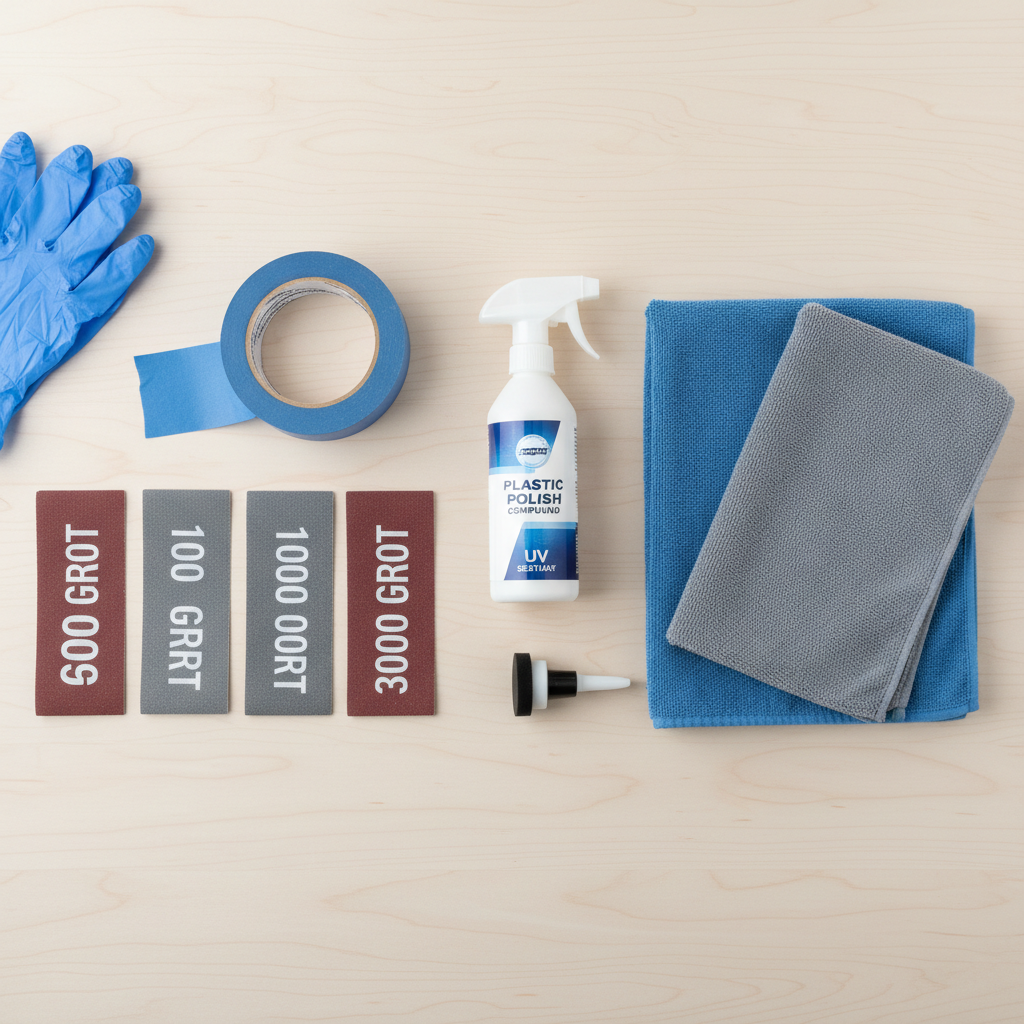
You don’t need a garage full of detailing gear. You do need the right abrasives and a UV protective finish, otherwise you’re doing the hardest part for temporary results.
- Car wash soap, microfiber towels
- Masking tape (wide painter’s tape works well)
- Wet/dry sandpaper or sanding discs (common grits: 600, 800, 1000, 2000, 3000)
- Spray bottle with water + a drop of soap (for wet sanding)
- Plastic polish/compound (or a kit’s compound)
- UV sealant or UV clear coat designed for headlight lenses
- Optional: drill/DA polisher with foam pad (saves time, not required)
- Optional: nitrile gloves and eye protection
What to skip: household abrasives and aggressive solvents. They might “work” visually, but they can accelerate future haze or damage surrounding paint.
Step-by-step: sand, polish, then seal (the method that usually lasts)
How to restore foggy headlights at home is mostly about patience and consistency. Rushing the sanding stage is where most “still cloudy” results come from.
1) Wash and mask
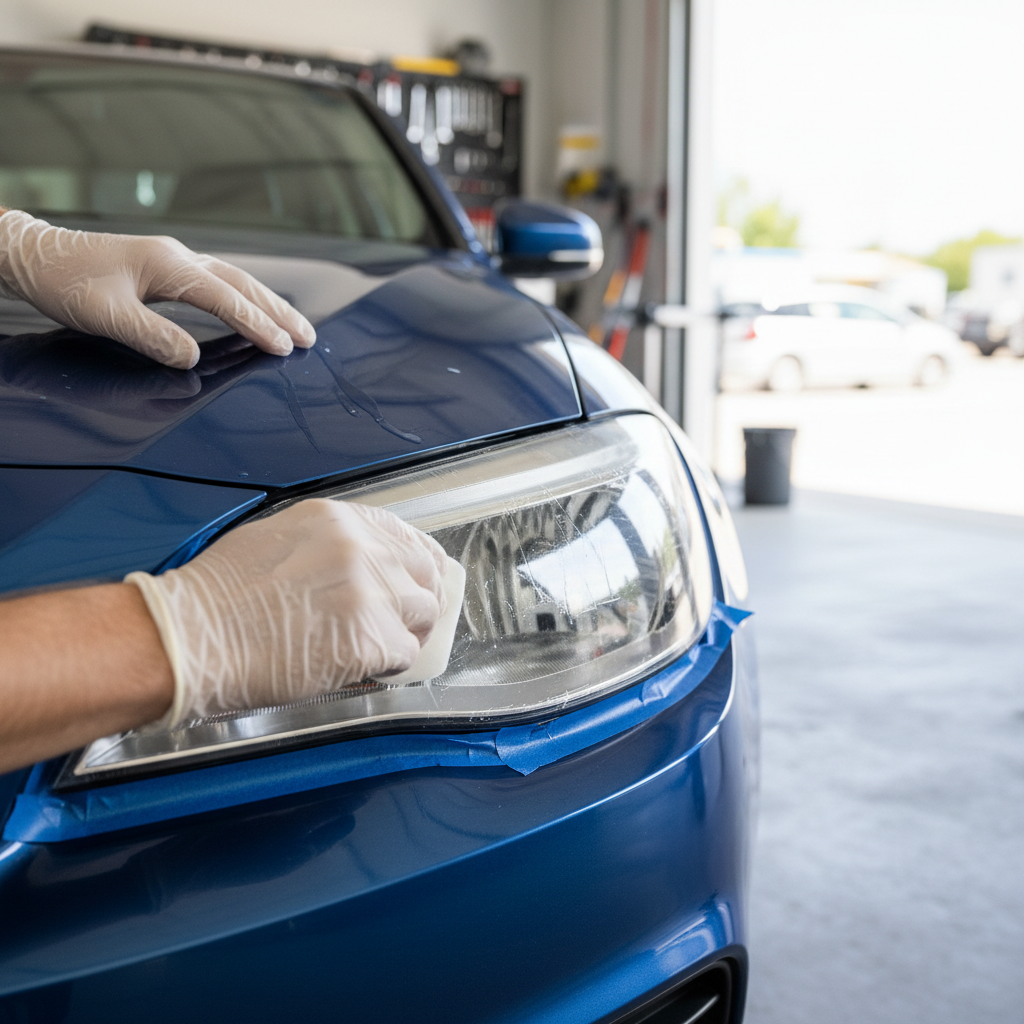
Wash the lens and surrounding area, then dry. Tape off paint, trim, and rubber seals around the headlight. Give yourself a wide taped border, sanding edges is where accidental scuffs happen.
2) Wet sand in controlled passes
Start with the least aggressive grit that still cuts the oxidation. Many lenses need 600–800 to begin, lighter haze may start at 1000.
- Keep the surface wet, spray often.
- Sand in straight passes, not circles.
- Change direction each grit (horizontal then vertical) so you can see when the previous scratches disappear.
- Wipe and check progress every minute or two.
What you should see: an even, uniformly dull surface with no shiny patches. Shiny spots usually mean oxidation remains.
3) Refine with higher grits
Move up through grits gradually (for example 800 → 1000 → 2000 → 3000). The lens should look hazy but smoother each step. Don’t “jump” too far unless your kit explicitly supports it.
4) Polish to restore clarity
Use a plastic polish or rubbing compound, by hand or with a foam pad. Work small sections, moderate pressure, and wipe clean to inspect. If it’s still milky, you likely need more refinement (often another pass at 2000–3000).
5) Seal with UV protection (non-negotiable)
This is the step people skip, then wonder why the haze returns. Apply a UV sealant per product directions. Some are wipe-on coatings, others are aerosol clear coats designed for plastics.
- Apply in a clean, dust-minimized spot.
- Respect cure time before driving or washing.
- If using a spray clear, follow ventilation guidance and local regulations.
According to the American Automobile Association (AAA), keeping exterior lighting clean and in good condition supports safer driving visibility, especially at night. A UV-protected finish is part of “good condition,” not a vanity add-on.
Mistakes that cause streaks, fast re-fogging, or permanent damage
- Stopping sanding too early: If oxidation remains, polish can’t hide it for long.
- Dry sanding without control: It builds heat and can create uneven gouges.
- Using too aggressive a grit on light haze: You add extra work and risk distortion.
- Not sealing: Clear today, foggy again soon, this is the classic outcome.
- Coating over residue: If polish oils remain, sealant adhesion can suffer.
If you’ve tried a quick fix and you’re still googling how to restore foggy headlights, it’s often because one of those steps happened in the wrong order, or the UV protection never went on.
When DIY isn’t enough (and it’s smarter to get help)
Some headlights won’t respond well to restoration, even if you do everything “right.” It’s not always a skill issue.
- Moisture inside the assembly: A shop may need to diagnose vents, seals, or housing cracks.
- Deep cracking/crazing: The plastic itself has degraded; replacement may be the only durable fix.
- Adaptive headlights or complex housings: If removal or resealing is required, a professional avoids costly mistakes.
- Inspection or safety concerns: If you suspect visibility remains poor, consider asking a qualified technician to verify aim and output.
Practical upkeep: keep them clear longer
Once the lens is clear again, maintenance is simple. The goal is to protect that UV layer and avoid grinding fresh scratches into it.
- Wash with normal car shampoo, avoid harsh degreasers on lenses.
- Add a spray sealant or wax occasionally if it’s compatible with your UV coating.
- Park in shade when realistic, UV exposure is the long game.
- If haze starts returning, a light polish plus re-seal can be easier than starting from sanding again.
Key takeaways before you start
- Remove oxidation evenly (sanding/refining), then lock in clarity (UV sealant).
- If the lens clears when wet, that’s a hint you’re close, you still need sealing.
- Condensation inside the headlight points to a different problem than surface haze.
- When in doubt, start less aggressive and step up, it’s easier to sand more than to undo damage.
Conclusion: clearer headlights, safer nights
Restoring cloudy lenses is doable, and it often makes night driving feel less stressful right away. The main difference between “looks better” and “actually fixed” is the UV protection step, so plan for it from the start and give it proper cure time.
If you want one simple next move: inspect your lenses with the water test, then pick a sand-polish-seal kit that includes a real UV protectant, not just compound.