
how to seal windshield leak in car usually comes down to two things: finding the real entry point (often not where water shows up) and using a seal that matches what failed, not just smearing more goop on top.
If you ignore it, the leak may keep soaking the headliner, fogging windows, and in some cases creeping into wiring near the A-pillars or dash. That turns an annoying drip into a bigger interior repair bill.
This guide walks through quick diagnosis, realistic DIY fixes for minor leaks, and the moments when it’s smarter to stop and let an auto glass shop handle it.
Why windshield leaks happen (and why the drip “lies”)
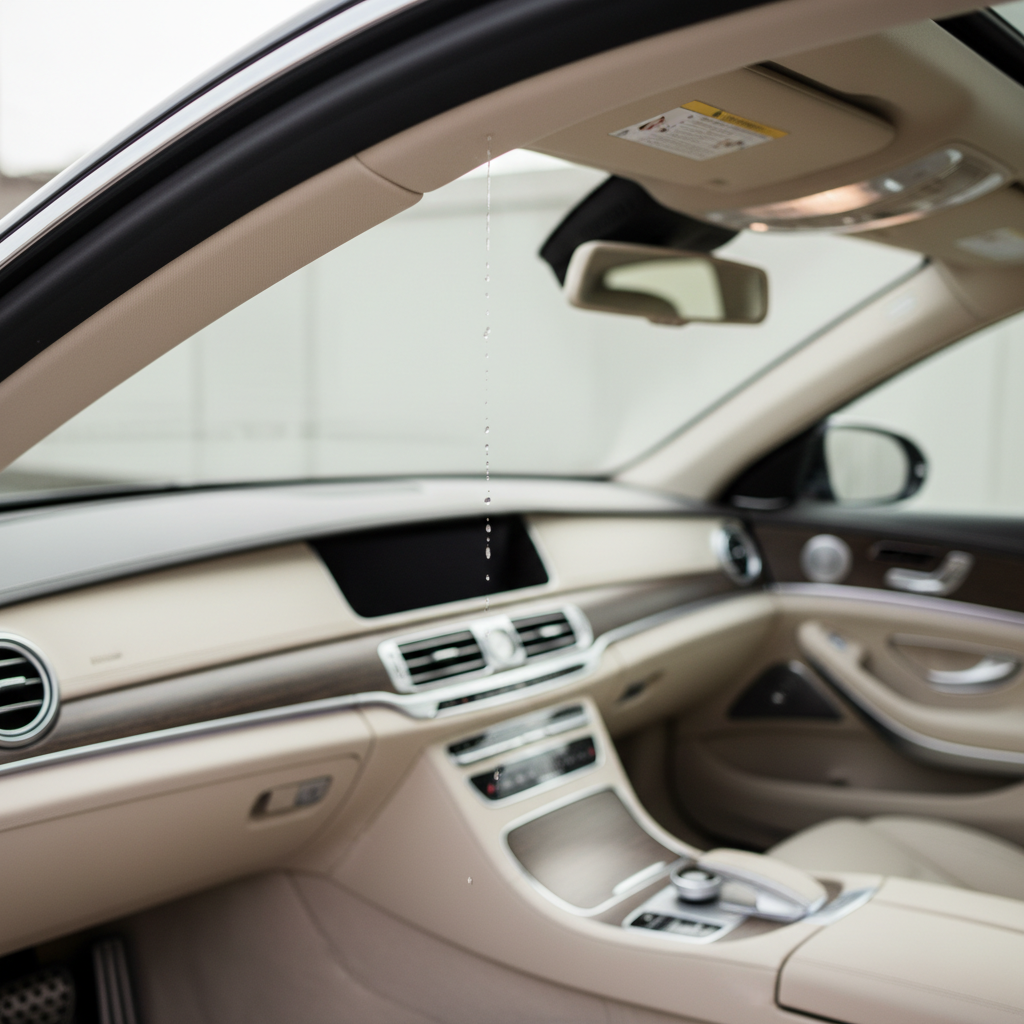
Windshield water intrusion often looks simple, but water can travel along trim, clips, and the headliner before it finally drops onto your seat or floor. So the wet spot is not a reliable locator.
- Aging urethane bond: The windshield is typically set with urethane adhesive, and over time it can separate from glass or body pinch-weld, especially after poor prep or corrosion.
- Bad previous install: Incomplete bead, contaminated surfaces, or missing primer can leave micro-gaps that only leak during heavy rain or car washes.
- Damaged or missing molding: Exterior trim/molding isn’t the main seal on many vehicles, but it helps manage water; if it’s loose, water is more likely to find a path.
- Rust on the pinch-weld: Rust can lift adhesive and create channels. This is a common “DIY trap” because sealant on top rarely stops it long.
- Not the windshield at all: Sunroof drains, roof rack mounts, cowl seams, and door weatherstrips can mimic a windshield leak.
Fast self-check: is it really a windshield leak?
Before you buy sealant, spend 10–15 minutes confirming the source. This is where most people waste time, they fix the wrong seam.
Quick checks you can do in the driveway
- Paper towel telltales: Tuck dry paper towels along the A-pillar trim edge, top corners, and dash-to-glass line, then run water.
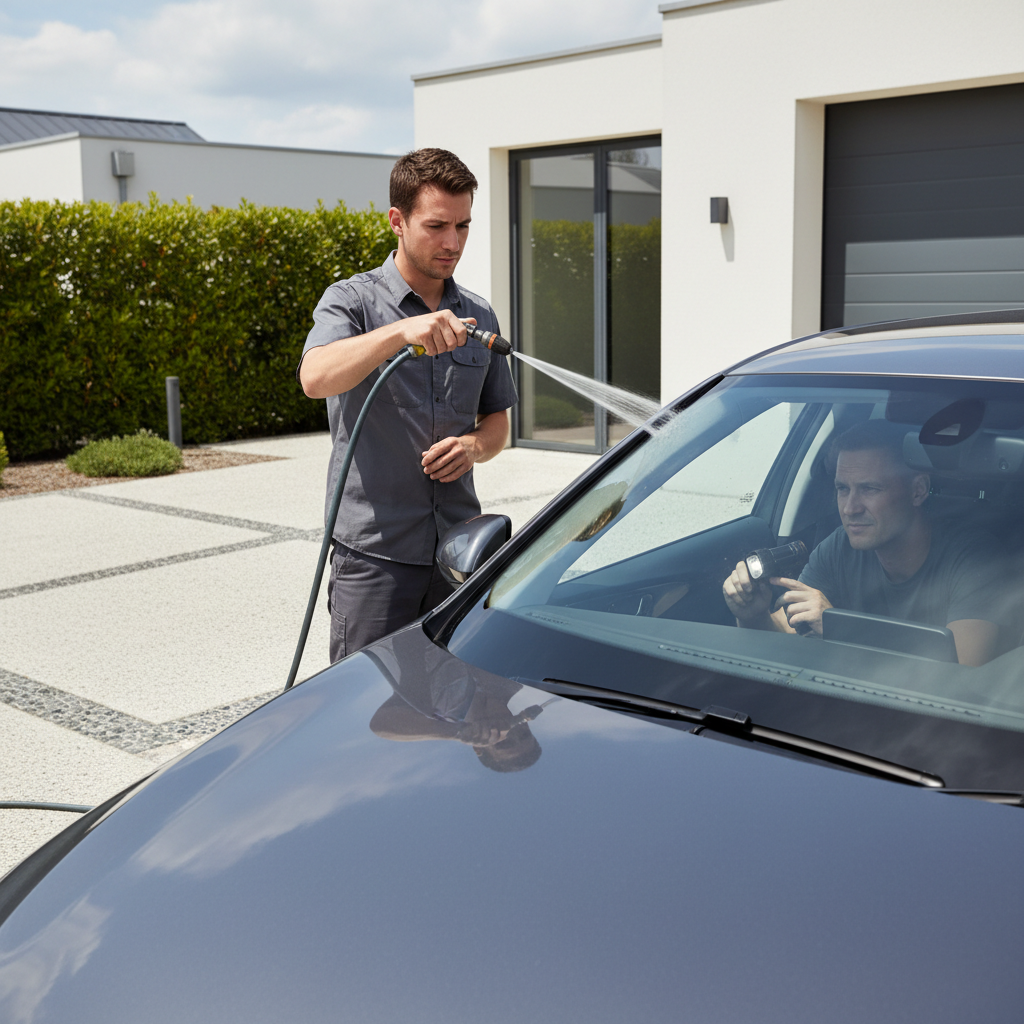
- Hose method (low pressure): Use a gentle stream, start low and move upward slowly. High pressure can force water into places that won’t leak in normal rain.
- One-person inside, one outside: The inside person watches first drip location with a flashlight.
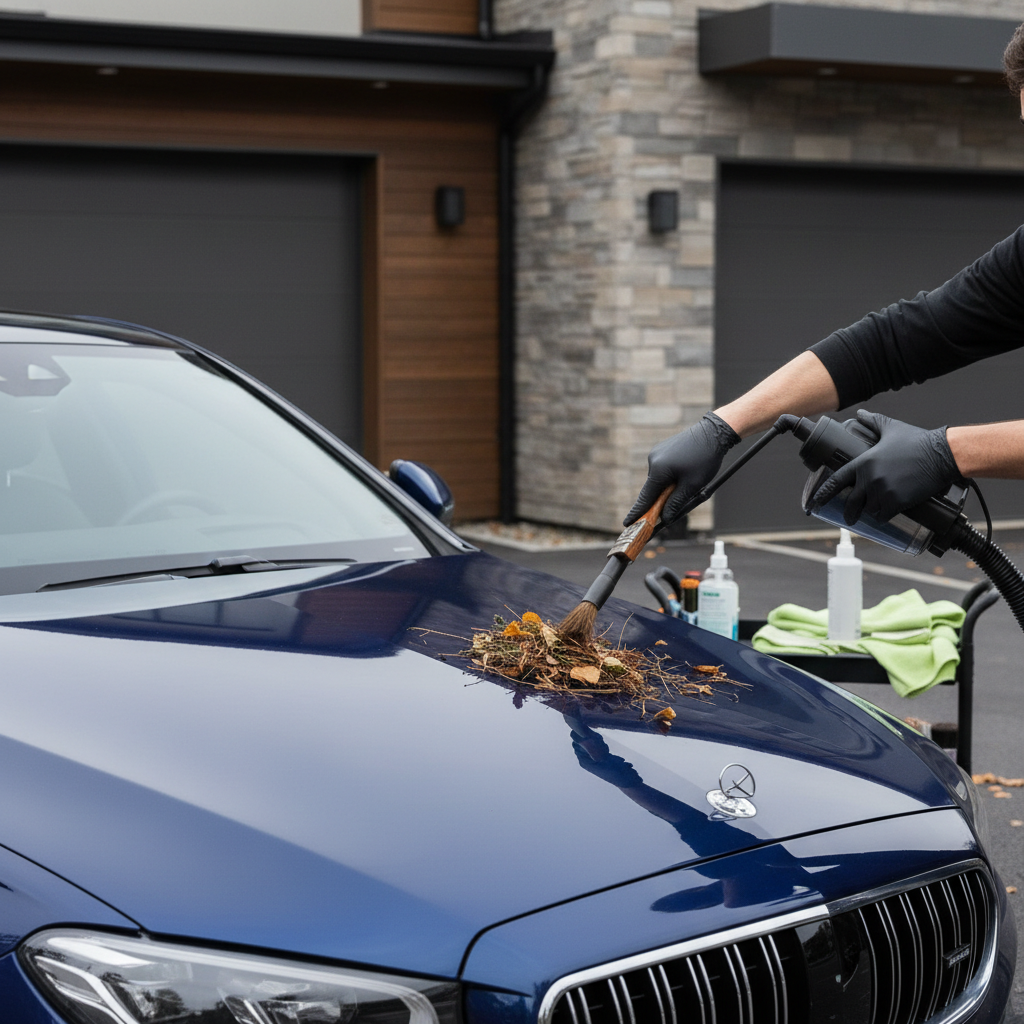
- Check the cowl: Leaves and debris near the base of the windshield can redirect water into openings around the cabin air intake.
According to the National Highway Traffic Safety Administration (NHTSA), the windshield is part of the vehicle’s safety system and supports airbag performance in many designs, so if you suspect the glass is loose or improperly bonded, treat it as more than a comfort issue.
Pick the right fix: temporary seal vs proper repair
There are two “levels” of sealing. One is a short-term water stop you can do from the exterior edge; the other is correcting a failed bond, which usually means professional removal and re-install.
| Situation | What it usually means | DIY-friendly? | Typical approach |
|---|---|---|---|
| Small leak only in heavy rain, no glass movement | Minor gap at edge or trim channel | Often yes | Exterior seam seal with automotive-grade sealant |
| Wind noise + water + visible gap/molding loose | Trim issue or partial bond problem | Sometimes | Re-seat/replace molding; seal only if structure is sound |
| Rust bubbles near windshield edge | Pinch-weld corrosion under adhesive | Rarely | Glass removal, rust remediation, re-bond |
| Water at headliner but not at glass edge | Sunroof drain/cowl/roof seam | Depends | Clear drains, reseal roof points, inspect cowl |
| Glass shifts, creaks, or leaks after recent replacement | Bond failure or install defect | No | Return to installer; re-install with proper urethane system |
DIY method: sealing a minor leak at the windshield edge
If your testing suggests a small perimeter seep and the windshield feels firmly seated, this is the most reasonable DIY path. The goal is a clean, continuous bead in the correct location, not a thick messy line that traps dirt and peels.
What you’ll need
- Automotive exterior sealant labeled for glass/weather sealing (avoid household silicone in many cases)
- Isopropyl alcohol (or manufacturer-approved cleaner) and clean microfiber towels
- Painter’s tape
- Plastic trim tool (optional, to gently lift molding if appropriate)
- Nitrile gloves
Steps that usually work
- Dry it out first: Pick a dry day, park in shade, and let the perimeter fully dry. Sealing over moisture often fails fast.
- Clean the bonding area: Wipe the outer glass edge and adjacent painted surface. If there’s wax, road film, or old residue, the bead won’t hold.
- Mask for a neat bead: Tape both sides of the seam so you can pull tape and leave a clean line. This also prevents sealant on paint.
- Apply a thin continuous bead: Focus on suspected entry zones (often top corners) but keep the bead continuous across the area so water can’t route around it.
- Tool the bead lightly: A gentle smoothing pass helps contact; don’t press so hard that you open gaps.
- Respect cure time: Most products need hours, sometimes a full day, before water exposure. Check the label and plan around it.
After cure, repeat the low-pressure hose test. If the leak improves but doesn’t fully stop, resist piling on layers in the same session; it often creates channels and looks worse over time.
When the leak is from molding, cowl, or drains (not the glass bond)
Plenty of “windshield leaks” are actually water management issues around the windshield. Fixing these can be simpler than sealing glass, but you still need to be methodical.
Common non-bond culprits and what to do
- Loose windshield molding: If it’s snapped out, re-seat or replace it. Sealant can help in some designs, but it’s not a substitute for correct fit.
- Cowl panel gaps: Remove debris, ensure clips are intact, and confirm the cowl weatherstrip is seated. Water pooling here often shows up on the passenger side footwell.
- Sunroof drains: If equipped, clogged drains can overflow and run down A-pillars. Clearing drains is usually safer than sealing random seams.
- Roof accessories: Roof rack mounts and antenna grommets can leak and then track forward. Inspect for cracked gaskets.
Key mistakes that make leaks worse
Most failed DIY attempts aren’t because sealing is impossible, it’s because the wrong product or surface prep turns the seam into a dirt magnet and still lets water through.
- Using household silicone: It may not bond well to automotive surfaces long-term, and it can complicate future professional urethane work.
- Sealing over rust: Rust keeps spreading under the bead. If you see bubbling paint, the real repair is deeper.
- Blasting with a pressure washer to “test”: It can force water past good seals and confuse diagnosis, plus it may lift trim.
- Ignoring cure time: Driving in rain too soon or washing the car early often breaks the seal before it sets.
- Sealing the wrong seam: Water tracks, so always confirm the first drip point with towels and controlled water flow.
When you should stop DIY and call an auto glass professional
If any of these show up, the safe move is professional inspection. A windshield that’s not properly bonded can be a safety issue, not just an inconvenience.
- Windshield movement: Any shifting, clicking, or visible separation at the edge.
- Airbag-area moisture: Water near the A-pillar airbag or dash electronics, potential electrical risk.
- Recurring leak after sealing: Especially if it returns quickly after a clean, careful application.
- Rust on the pinch-weld: Often requires glass removal and corrosion repair before re-bonding.
- Recent replacement: Many shops will re-check their work; it’s worth calling rather than masking a warranty issue.
According to the Auto Glass Safety Council (AGSC), proper windshield installation depends on correct urethane systems, surface prep, and safe drive-away times, so repeated leaks can indicate installation or substrate problems that sealant won’t truly solve.
Practical wrap-up: what to do this weekend
If you’re trying to figure out how to seal windshield leak in car without turning it into a whole project, focus on the sequence: confirm the source, clean and dry the area, apply an automotive-grade sealant neatly, then retest with low pressure water.
Action steps: run the paper towel test tonight, gather supplies tomorrow, seal only after the perimeter dries, and schedule a glass shop visit if you see rust or any sign the windshield bond is compromised.
FAQ
- Can I use silicone to stop a windshield leak?
Sometimes it looks like it works for a week, but many automotive techs avoid it because it may not adhere well long-term and can interfere with future urethane bonding. An automotive exterior sealant is usually a safer bet for minor edge seepage. - How do I find the exact spot water enters?
Use dry paper towels placed in several zones, then run a gentle hose stream from low to high. The first towel that shows moisture often points closer to entry than the drip you notice later. - Why does water drip from the dome light if the windshield leaks?
Water can travel along the headliner and roof structure before it drops. That’s why diagnosing from the inside drip alone often sends you to the wrong seam. - How long should sealant cure before driving in rain?
It depends on the product and weather. Check label guidance, and assume cool, humid conditions can extend cure time. When in doubt, wait longer and avoid car washes. - Will a windshield leak cause mold?
It can, especially if carpet padding stays damp. Dry the interior quickly, use fans, and consider professional detailing if there’s a persistent musty smell. - What if the leak started after a windshield replacement?
Contact the installer. A post-install leak may indicate bonding or trim fit issues, and covering it with sealant can make a proper re-install harder. - Is it safe to drive with a windshield leak?
A small drip might be more annoying than dangerous, but if you suspect the glass is loose, or water reaches electronics or airbag areas, it’s worth getting it checked by a professional soon.
If you’re still chasing a stubborn drip or you’d rather not guess which seam matters, a local auto glass shop can usually pinpoint the entry point quickly and tell you whether a simple reseal is realistic or if the bond needs a full reset.