
how to fix a chip in windshield comes down to two decisions: how bad the damage really is, and how quickly you can seal it before dirt and moisture get inside.
If you catch a fresh chip early, a basic resin repair can often restore clarity and help stop a crack from spreading, but some chips are simply in the wrong place or too large to handle at home.
This guide walks you through a realistic DIY process, a quick self-check to avoid wasting time on the wrong repair, and what to do if the chip sits in a high-risk area.
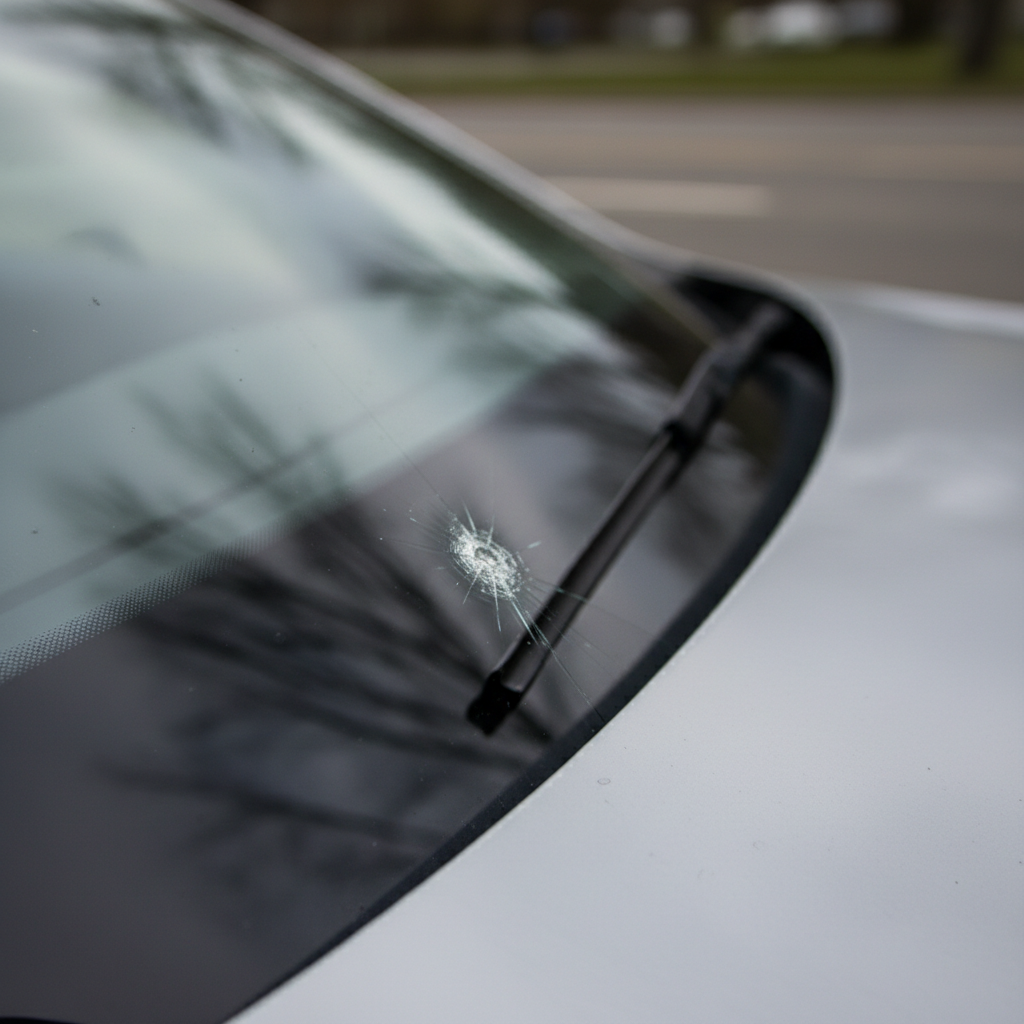
What causes windshield chips (and why they get worse fast)
Most chips start with a tiny impact, usually road gravel, debris kicked up by trucks, or a small object falling from a vehicle ahead. The impact creates a crater plus micro-cracks that you might not even notice at first glance.
The part that surprises people is how quickly a “small” chip turns into a bigger problem. Temperature swings, car washes, hitting potholes, even blasting the defroster on a cold morning can put stress on that already-weakened spot.
According to NHTSA, windshields contribute to vehicle safety as part of the occupant protection system, so visible damage is not just cosmetic, it can affect safe driving and proper airbag deployment in some designs.
- Contamination is the enemy: dust and water reduce how well resin bonds.
- Time matters: the longer you wait, the higher the odds the damage spreads.
- Location changes everything: chips near edges often crack more easily.
Quick self-check: is this chip a good DIY candidate?
Before you buy a kit or start drilling, do a 60-second reality check. Many failed repairs happen because the chip never should have been DIY in the first place.
- Size: many kits work best when the chip is roughly smaller than a quarter and cracks are shorter than a few inches, though it varies by kit and chip shape.
- Depth: if you can catch a fingernail in it or you see damage on the inner layer, professional assessment makes more sense.
- Edge distance: damage within about 2 inches of the windshield edge often has higher crack risk.
- Driver’s line of sight: repairs can leave slight distortion, which is a bad tradeoff right in front of you.
- Multiple impact points: a cluster of chips is harder to fill cleanly.
If you’re unsure, you can still clean and cover the chip temporarily, then get a pro opinion. That small step often prevents the “now it’s a crack” moment.
DIY vs professional repair: a practical comparison
Here’s the honest version: DIY can work well for small, fresh chips, but it’s less forgiving than people expect. A pro repair tends to look cleaner because of better injectors, better resin options, and experience removing trapped air.
| Situation | DIY repair kit | Professional repair |
|---|---|---|
| Small bullseye or star chip, recently happened | Often reasonable if you work clean and fast | Usually cleaner finish and faster |
| Chip near edge or long crack starting | Higher chance it spreads during/after repair | Better evaluation, may recommend replacement |
| Cold weather, damp conditions | Harder to keep moisture out, curing less predictable | Controlled process, better odds |
| Damage in driver’s direct view | Risk of distortion or haze | Can advise if repair is acceptable or not |
Key point: If the chip is spreading, sits near the edge, or blocks your view, it’s usually smarter to pause and ask a glass shop before attempting a repair.
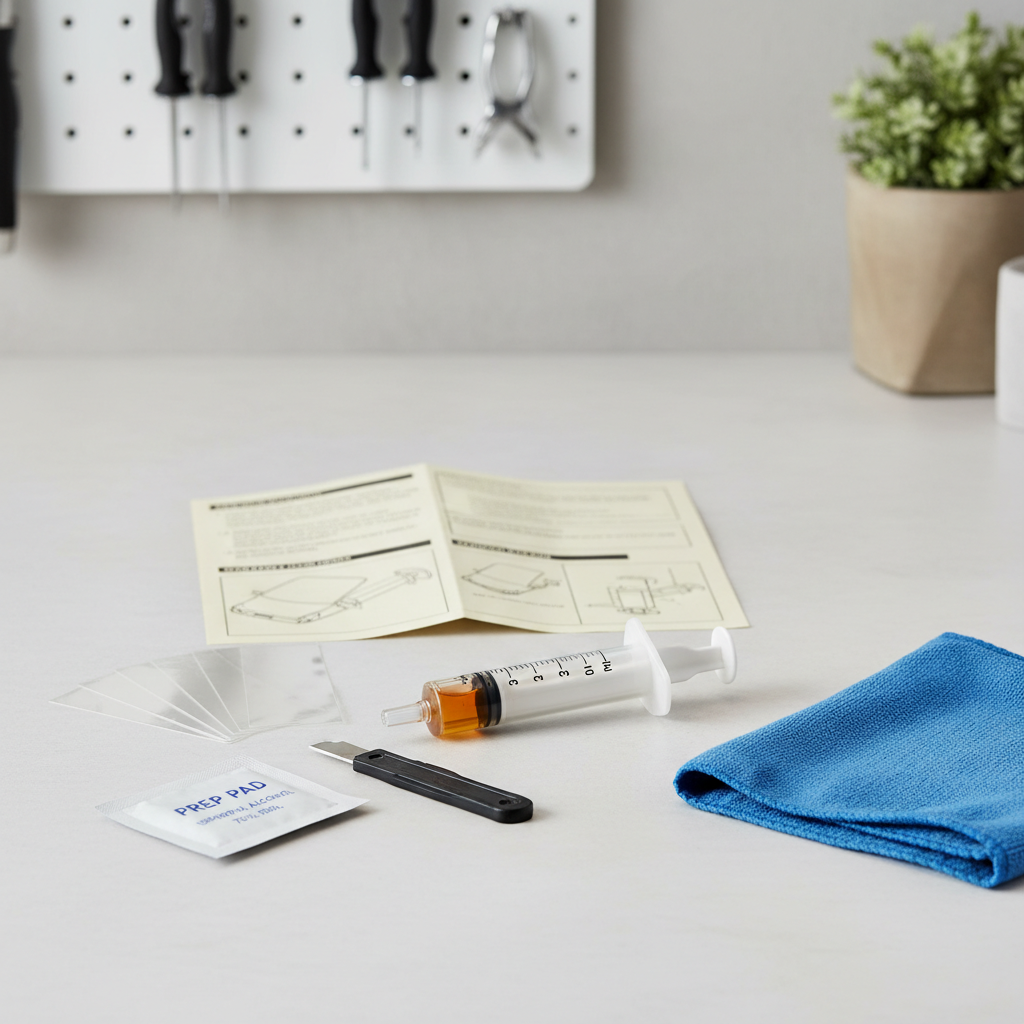
What you need before you start (tools, conditions, and prep)
The “secret” to a decent-looking repair is not the resin brand, it’s prep and conditions. Most at-home repairs fail because the chip was dirty, damp, or heated unevenly.
Typical kit items
- Resin and injector/syringe bridge
- Curing film strips
- Razor blade for leveling excess resin
Helpful extras (worth having)
- Glass cleaner that is ammonia-free, plus microfiber cloth
- Isopropyl alcohol wipes for final cleaning around the impact
- Painter’s tape to mark the chip from inside, so you don’t lose it
- Shade or garage space to control sunlight and temperature
Try to work on a mild day. Extreme heat can make resin cure too quickly, and cold can make it thicker and harder to inject into tiny cracks.
Step-by-step: how to fix a chip in windshield with a resin kit
how to fix a chip in windshield with a kit is basically: clean, position the injector, cycle pressure and vacuum to push resin in, then cure and level the surface.
1) Clean the area without pushing debris into the chip
Clean the surrounding glass first, then lightly clean near the chip. Avoid flooding the impact point with cleaner. If your kit includes a pin, use it gently, aggressive digging can expand the damage.
2) Keep moisture out
If the chip looks “foggy” or you suspect water got in, let the vehicle sit in a dry place. Some people use gentle airflow from the car’s vents, but avoid overheating the glass. If you can’t get it dry, consider stopping and going pro.
3) Center the injector precisely
This part feels picky because it is. If the seal sits off-center, resin will fill unevenly and you’ll trap air. Take an extra minute to align it.
4) Run pressure/vacuum cycles as directed
Most systems have you pull a vacuum to remove air, then apply pressure to drive resin into the legs of the chip. Follow your kit’s timing, and watch for the chip to change appearance as it fills.
- If you still see silver “sparkle” lines, that’s often trapped air.
- Re-seat the injector only if the kit allows it, twisting and re-tightening can worsen the chip.
5) Cure with UV (sunlight or UV light)
Apply the curing film, then let the resin cure as directed. Sunlight works for many kits, but it’s less consistent if you’re in shade or the sky is overcast.
6) Scrape and polish lightly
After curing, use the razor blade at a shallow angle to remove excess resin until smooth. Don’t gouge the glass. A slight mark may remain, the goal is stability and safe visibility, not perfection.
Common mistakes that make repairs look worse (or fail)
Most “DIY didn’t work” stories trace back to the same few issues. Fixing your process is often more important than switching kits.
- Waiting too long: dirt works into the chip, resin won’t bond cleanly.
- Attempting a repair in direct sun: resin can start curing before it fills the cracks.
- Over-cleaning the impact point: liquid can carry contamination deeper.
- Skipping alignment: a slightly off-center injector often leaves a visible ring.
- Trying to “repair” a long crack: many consumer kits are not designed for it.
Also worth saying out loud: a repair can improve appearance, but it usually won’t make the chip invisible. If the main goal is showroom clarity, you might be happier with a professional repair or replacement recommendation.

When to stop DIY and get professional help
There’s a point where “just try the kit” becomes a gamble, especially because a failed attempt can complicate a later professional repair.
- Crack is growing, or the chip has long legs that keep spreading
- Damage sits close to the edge, or near a corner
- Chip is directly in your primary viewing area
- You see damage on the inside layer, or you feel air coming through
- The chip is contaminated and won’t clear during injection cycles
According to AAA, windshield damage can compromise visibility and vehicle safety, so if you have any doubt about safe driving, it’s reasonable to consult a qualified auto glass technician.
If your insurance includes glass coverage, it may be worth asking what repair or replacement options apply. Policies and state rules vary, so it’s usually a quick call that can save time.
Key takeaways and next steps
If you want a stable result, treat a chip like a “fresh wound” on glass: clean around it carefully, keep water out, and repair sooner rather than later. A DIY kit can be enough for a small, new chip, but location and crack pattern decide whether you’ll be happy with the outcome.
Your next step is simple: inspect the chip in good light, compare it to the DIY checklist, then either repair it the same day or cover it temporarily and book a glass shop visit.
FAQ
How long can I wait before fixing a windshield chip?
Usually, shorter is better because grime and moisture reduce resin bonding. If you can’t repair right away, covering the chip with clear tape can help keep contamination out until you can address it.
Will a windshield chip repair stop it from cracking?
It often reduces the chance of spreading, but it’s not a guarantee. Chips near edges, or chips that already have long legs, tend to be more unpredictable even after repair.
Can I use super glue to fix a chip in my windshield?
It’s generally not a great idea. Super glue is not designed for optical clarity or proper bonding in laminated glass, and it can make professional repair harder later.
Does fixing a chip make it disappear completely?
Many repairs still leave a faint mark or slight haze. A good repair usually looks improved and feels smooth, with the bigger win being strength and stability rather than invisibility.
Is it safe to drive with a chipped windshield?
Small chips are often driveable in the short term, but visibility and the risk of spreading matter. If the chip distracts you, sits in your direct line of sight, or starts cracking, it’s safer to get it checked.
What if the chip is on the passenger side, can I ignore it?
It can still spread, especially with temperature changes and road vibration. Even when it’s out of your main view, a quick repair can be cheaper and less stressful than a later replacement.
Do I need a UV light, or is sunlight enough?
Many kits cure in sunlight, but results can vary with weather and shade. A small UV light can make curing more consistent, as long as you still follow the kit’s curing time guidance.
If you want the most hassle-free outcome
If you’re trying to decide between a kit and a shop visit, it helps to think about your tolerance for a visible mark and your chip’s location. If you’d rather avoid trial-and-error, a reputable auto glass technician can usually tell you quickly whether repair makes sense or replacement is the safer call.