
how to plug a tire with repair kit is one of those skills you only care about when you’re already stressed on the shoulder of the road, low light, low patience, and the tire losing air faster than you expected. The good news, a plug repair can get you moving again in many common puncture situations, if you do it carefully and you know its limits.
What usually trips people up is not the “plug” itself, it’s the judgment calls around it, where the puncture sits, how big it is, whether the tire is safe to plug at all, and how to make the plug seal instead of slowly leaking for the next 20 miles. This guide walks you through the practical steps, plus the common mistakes that make plugs fail.
One more thing before we get hands-on, a plug is typically considered a temporary roadside solution, not the same as an internal patch-plug installed from inside the tire. According to NHTSA, tires with certain types of damage can fail unexpectedly, so if you’re unsure about the damage location or severity, it’s worth treating the plug as “get to a shop,” not “good for months.”
When a tire plug repair makes sense (and when it doesn’t)
A plug works best when the puncture is small, in the tread area, and fairly straight-through. If that’s your situation, plugging can be a realistic way to get back on the road and drive to a safer place or a tire shop.
- Usually OK to plug: a nail or screw in the tread, roughly centered, with a single clean hole.
- Often not OK to plug: damage in the sidewall or shoulder, a long cut, a “chunk” missing, or any hole that looks torn or widened.
- Be cautious: if the tire ran very low or flat for more than a short distance, internal damage is possible even if the puncture looks minor.
If you find the puncture within the sidewall area or near the edge of the tread, don’t force it, many shops won’t repair that zone because the tire flexes heavily there and a plug can let go.
Quick checklist: confirm you can plug it safely
Before you kneel down and commit, take 60 seconds and do a quick reality check. This is where people save themselves from wasting time on a repair that was never going to hold.
- The object is in the tread, not the sidewall
- The hole looks small (typical nail/screw size)
- No visible cords, bubbles, or torn rubber around the puncture
- The tire did not get driven flat for long (no burnt rubber smell, no shredded sidewall)
- You have a way to re-inflate (compressor, inflator, or CO2)
- You can work in a safer spot, off traffic, with parking brake engaged
According to AAA, if you’re stuck in an unsafe spot or you don’t have the right tools, calling for help is often the smarter play than improvising next to traffic.
What you need in a tire plug kit (and what helps a lot)
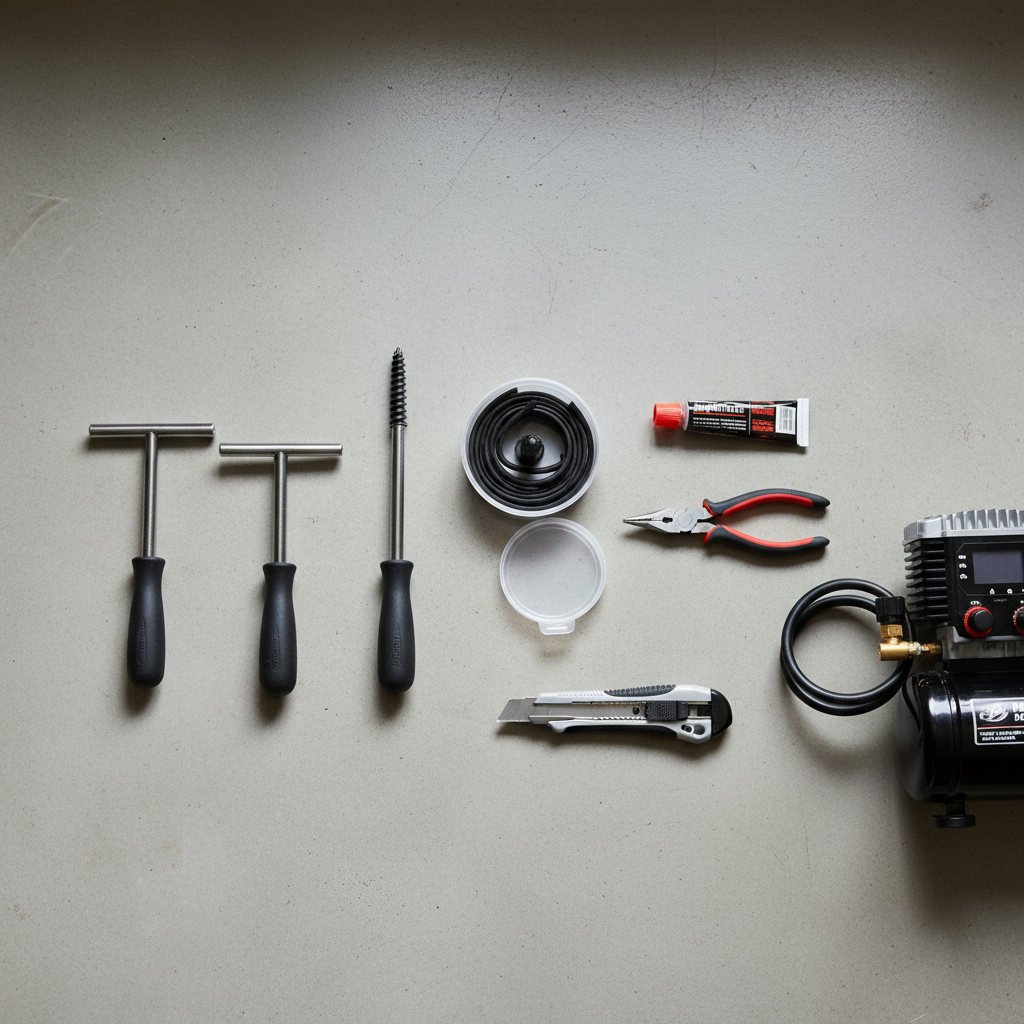
Most repair kits include the basics, but a couple “extra” items make the job cleaner and more reliable. If you’re building a trunk kit, this is what I’d prioritize.
Core tools
- Plug strips (string plugs)
- Reamer (roughing tool to clean/size the hole)
- Insertion tool (to push the plug in)
- Rubber cement (many kits include it, it helps lubricate and seal)
Highly recommended extras
- Pliers to pull the nail/screw
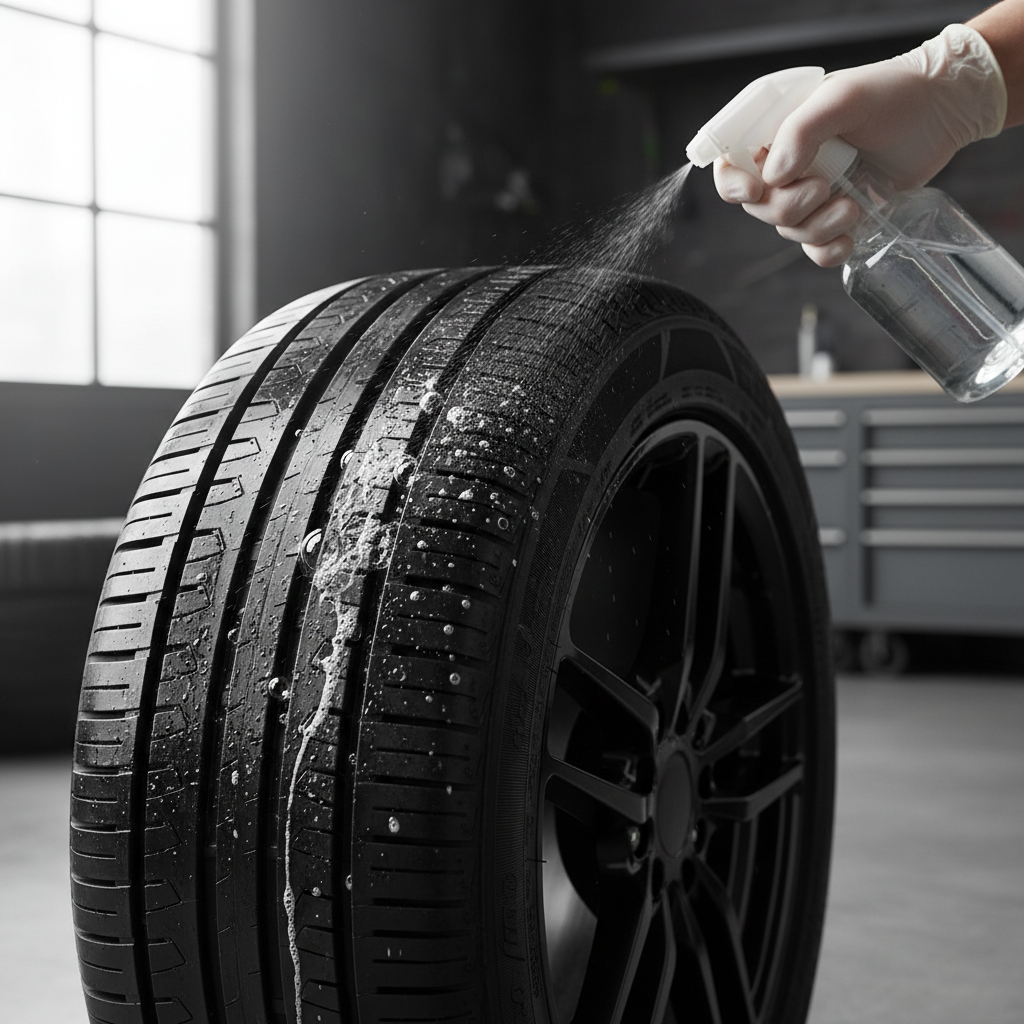
- Spray bottle with soapy water to locate leaks and verify seal
- Compact air compressor (12V) and a tire pressure gauge
- Gloves and a small utility knife/razor

Key point: if you don’t have a reliable way to add air afterward, the plug job becomes guesswork. A plug that’s “fine” can still need a top-off to seat and hold.
Step-by-step: how to plug a tire with repair kit
This is the field method most plug kits are designed for. Work slowly, keep your hands clear, and avoid doing this with the car supported only by a jack unless you’re trained and on stable ground.
1) Find the leak and mark it
If the nail or screw is obvious, great. If not, spray soapy water over the tread and look for bubbles. Mark the spot so you don’t lose it when the tire rotates.
2) Remove the object
Use pliers and pull straight out. If it’s a screw, you can sometimes back it out with a screwdriver. Expect air to rush out, that’s normal.
3) Ream the hole (yes, you really need to)
Push the reamer into the puncture and work it in and out several times. This step feels aggressive, but it cleans the hole and makes the plug fit tightly. If you skip it, the plug often won’t seat evenly and can leak.
4) Load the plug strip into the insertion tool
Thread the plug so it’s centered, with equal lengths on both sides. Coat the plug with rubber cement if your kit includes it, it helps with insertion and sealing.
5) Insert the plug
Push the plug into the hole until only about half an inch to an inch remains outside the tread. Then pull the tool straight back out so the plug stays behind. Don’t yank sideways, that can enlarge the hole.
6) Trim the excess plug
Cut the plug ends close to the tread. Leave a tiny bit proud if your kit directions recommend it, it usually wears down quickly once you drive.
7) Inflate and check for leaks
Inflate to the vehicle placard pressure (door jamb sticker) or your manual’s spec. Spray soapy water again and look for new bubbles. If it bubbles steadily, the plug likely didn’t seal, you may need to ream once more and redo the plug, or switch to professional help.
Common reasons plugs fail (and how to avoid them)
A tire plug can fail for boring reasons, not dramatic ones, and most are avoidable.
- Plugging the wrong area: shoulder/sidewall flex breaks the seal, even if it “seems fine” at first.
- Hole too large or torn: a plug strip isn’t meant for gashes or jagged punctures.
- Skipping the ream step: the plug doesn’t bite, leaks show up later.
- Not inserting deep enough: too much plug left outside can wick air or pull out.
- No verification: people drive off without a soapy-water check and miss a slow leak.
Also, if you had to drive on the tire while it was very low, the bigger risk is internal damage you can’t see from the outside. In that case, even a “perfect” plug doesn’t make the tire healthy again.
Temporary vs permanent repair: what to expect
Here’s the part many guides gloss over, because it’s inconvenient. A plug from the outside can be a solid short-term fix, but many tire shops prefer an internal patch-plug for a long-term repair, because it seals the inner liner and addresses the injury channel more completely.
According to USTMA (U.S. Tire Manufacturers Association), proper tire repair typically involves a patch or patch-plug applied from inside the tire after inspection. That’s a different process than a quick roadside plug, and it’s why shops may tell you to come in even if your plug “worked.”
If you’re deciding what to do next, this quick table helps.
| Situation | Plug Now? | Next Step |
|---|---|---|
| Nail/screw in center tread, slow leak | Usually yes | Inflate, leak-check, drive to shop for inspection |
| Puncture near shoulder/edge of tread | Often no | Use spare or call roadside assistance |
| Sidewall puncture or bubble | No | Replace tire, have a professional confirm |
| Tire driven flat for a while | Maybe, but cautious | Plug only to move to safety, then inspect internally |
| Multiple punctures close together | Depends | Professional assessment, repair may be declined |
Practical aftercare: how to drive after a plug
If the plug seals, your job is not “done,” it’s “stable enough to manage.” Keep it boring and predictable.
- Recheck pressure after 10–15 minutes of driving, then again the next day.
- Avoid high speed, hard cornering, and heavy loads until you confirm it holds.
- If TPMS light returns or pressure drops, stop and reassess.
- Plan a shop visit for an inspection if this tire matters for longer trips.
Quick reality check: if you’re about to drive a long highway stretch, tow something, or head into extreme heat, the “temporary” part matters more. Consider moving to a proper internal repair sooner.
When to stop DIY and get professional help
Some calls are easy. Others are “maybe,” and in those cases it’s safer to let a tire professional inspect it from the inside.
- The puncture is in the sidewall or shoulder area
- The hole looks larger than a typical nail/screw puncture
- You see cords, a bulge, or cracking near the damage
- The tire lost air rapidly and you suspect you drove on it low
- You plug it and it still leaks after a redo
If you’re on a busy road or weather is bad, prioritizing personal safety over the repair is not “overreacting,” it’s reasonable risk management.
Conclusion: a plug is a tool, not a promise
If you follow the steps, check your work, and stay honest about where plugs do and don’t work, you can usually get yourself out of a frustrating spot without damaging the wheel or shredding the tire. The two actions that pay off most are reaming the hole properly and doing a soapy-water leak check before you drive away.
If you’re dealing with a shoulder puncture, repeated pressure loss, or a tire that ran flat, it’s smarter to treat the plug as a short bridge to a professional inspection, then decide whether an internal repair or replacement makes more sense for your situation.